Use the Companion
Install the Companion on the computer that already holds your client certificate. Your remote job can then ask this computer to authenticate to a website. Pair each Integrator once. When a request arrives, you decide which certificate the job may use, where it may use it and for how long.
Install the Companion
Choose the desktop artifact for your operating system and processor from the distribution run. Each archive contains the installer and a separate native addon for developers. The installer already includes its matching addon. These builds are unsigned. Installer artifacts · Tested platforms
| Desktop | Package | Where the Companion finds your website certificate |
|---|---|---|
| Windows | Run the per-user .exe installer and open Countersign from Start. |
The current user's Personal certificate store, backed by a CNG signing key. |
| macOS | Open the .pkg installer, then open Countersign from Applications. |
A Keychain identity whose private key is accessible to Security.framework. |
| Linux | Install the .deb with your package manager, or make the .AppImage executable and launch it in your desktop session. |
A PKCS#11 token available through p11-kit or the configured module. Unlock your encrypted login keyring before pairing. |
Enable Start at login under Settings if this computer should receive requests after sign-in. Open the window again from the tray using Open Countersign. Linux users can also build and install the local conda package.
Find your way around
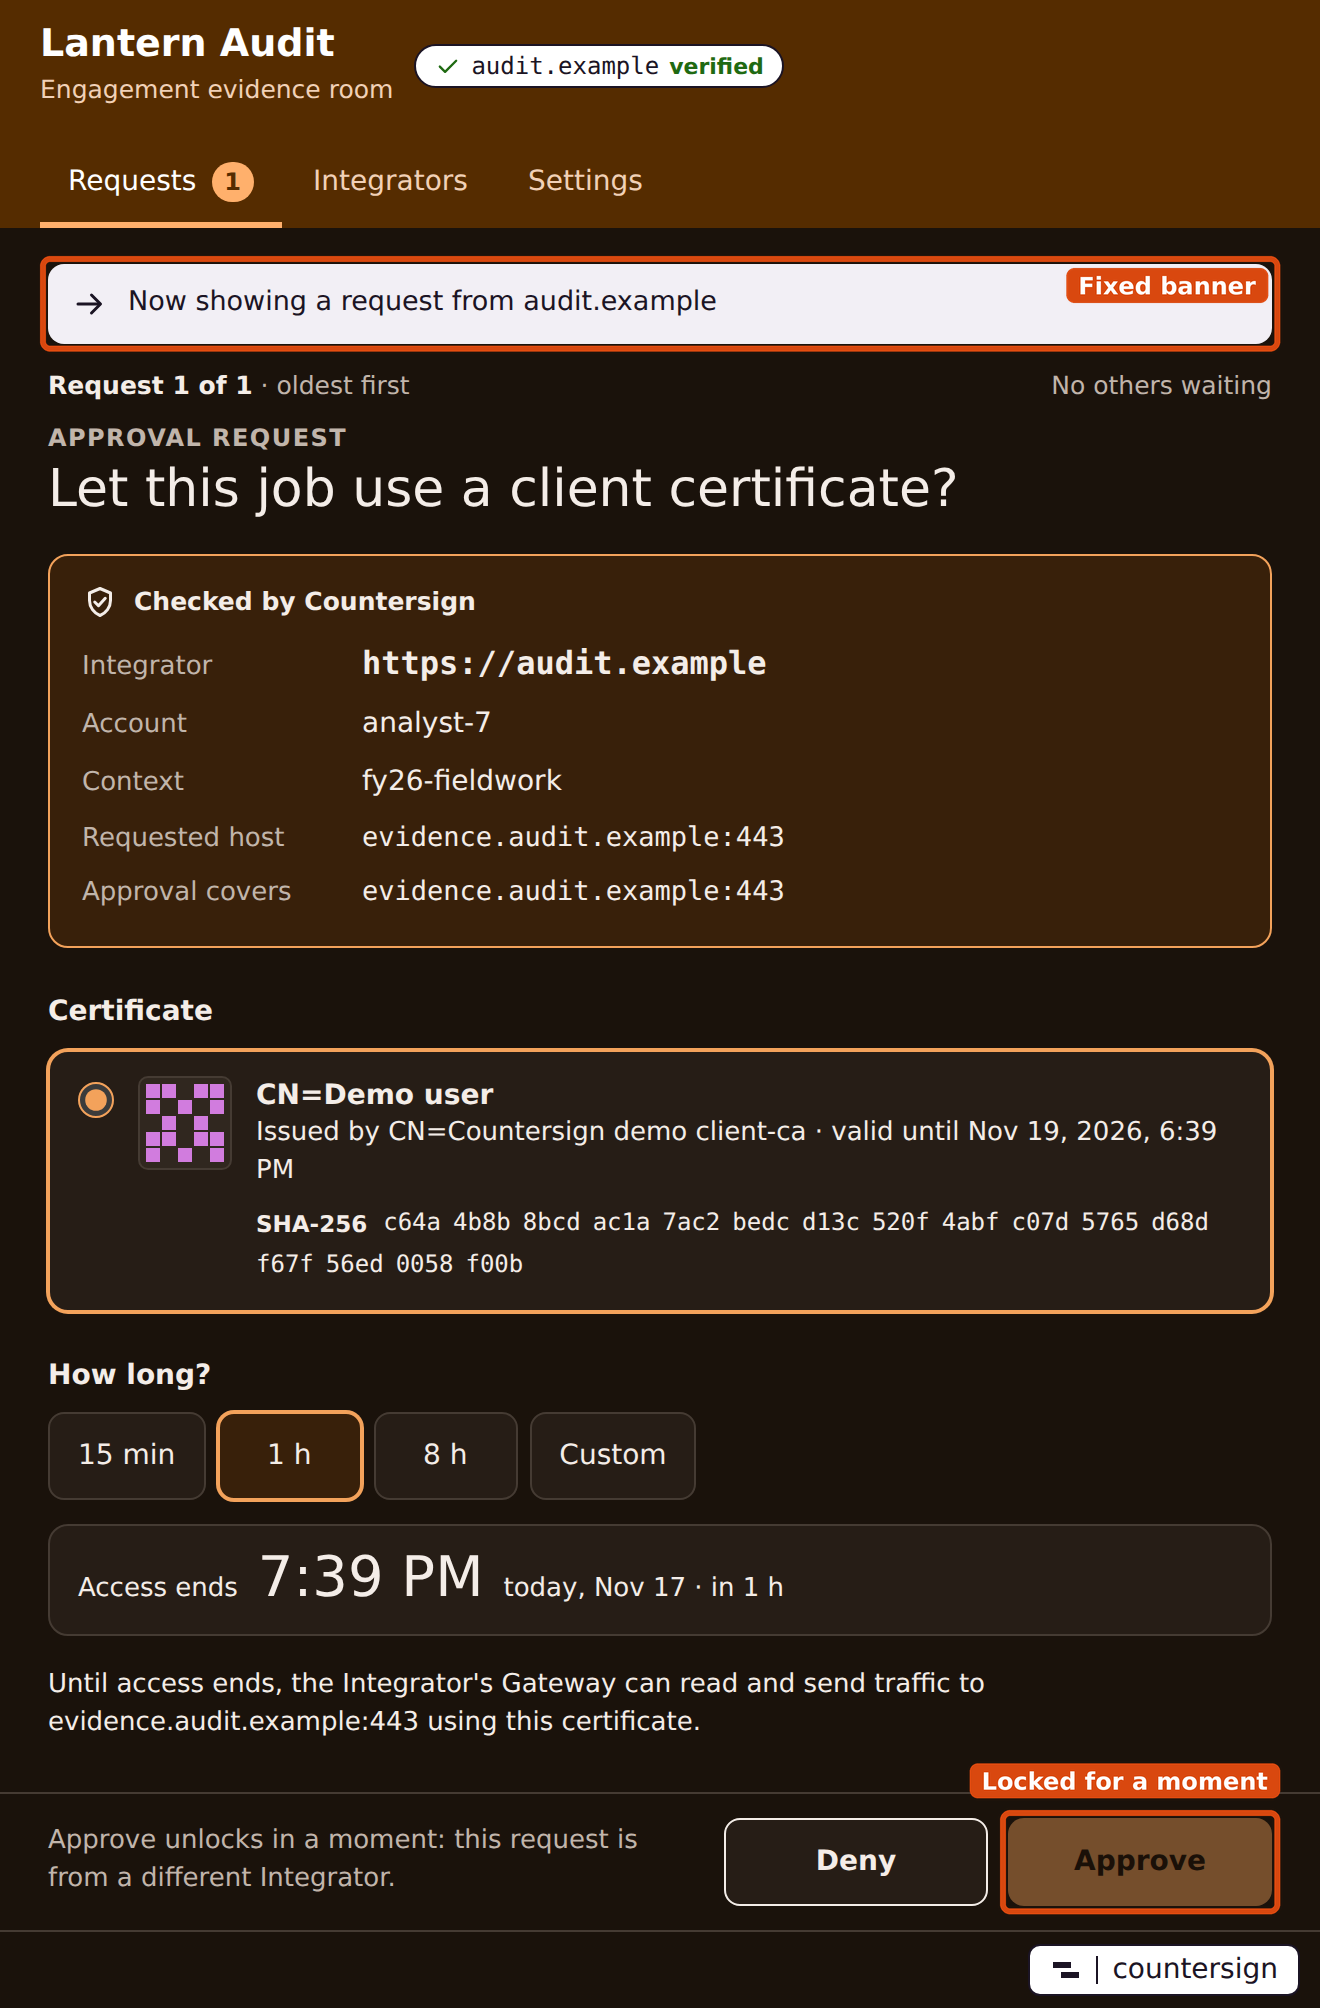
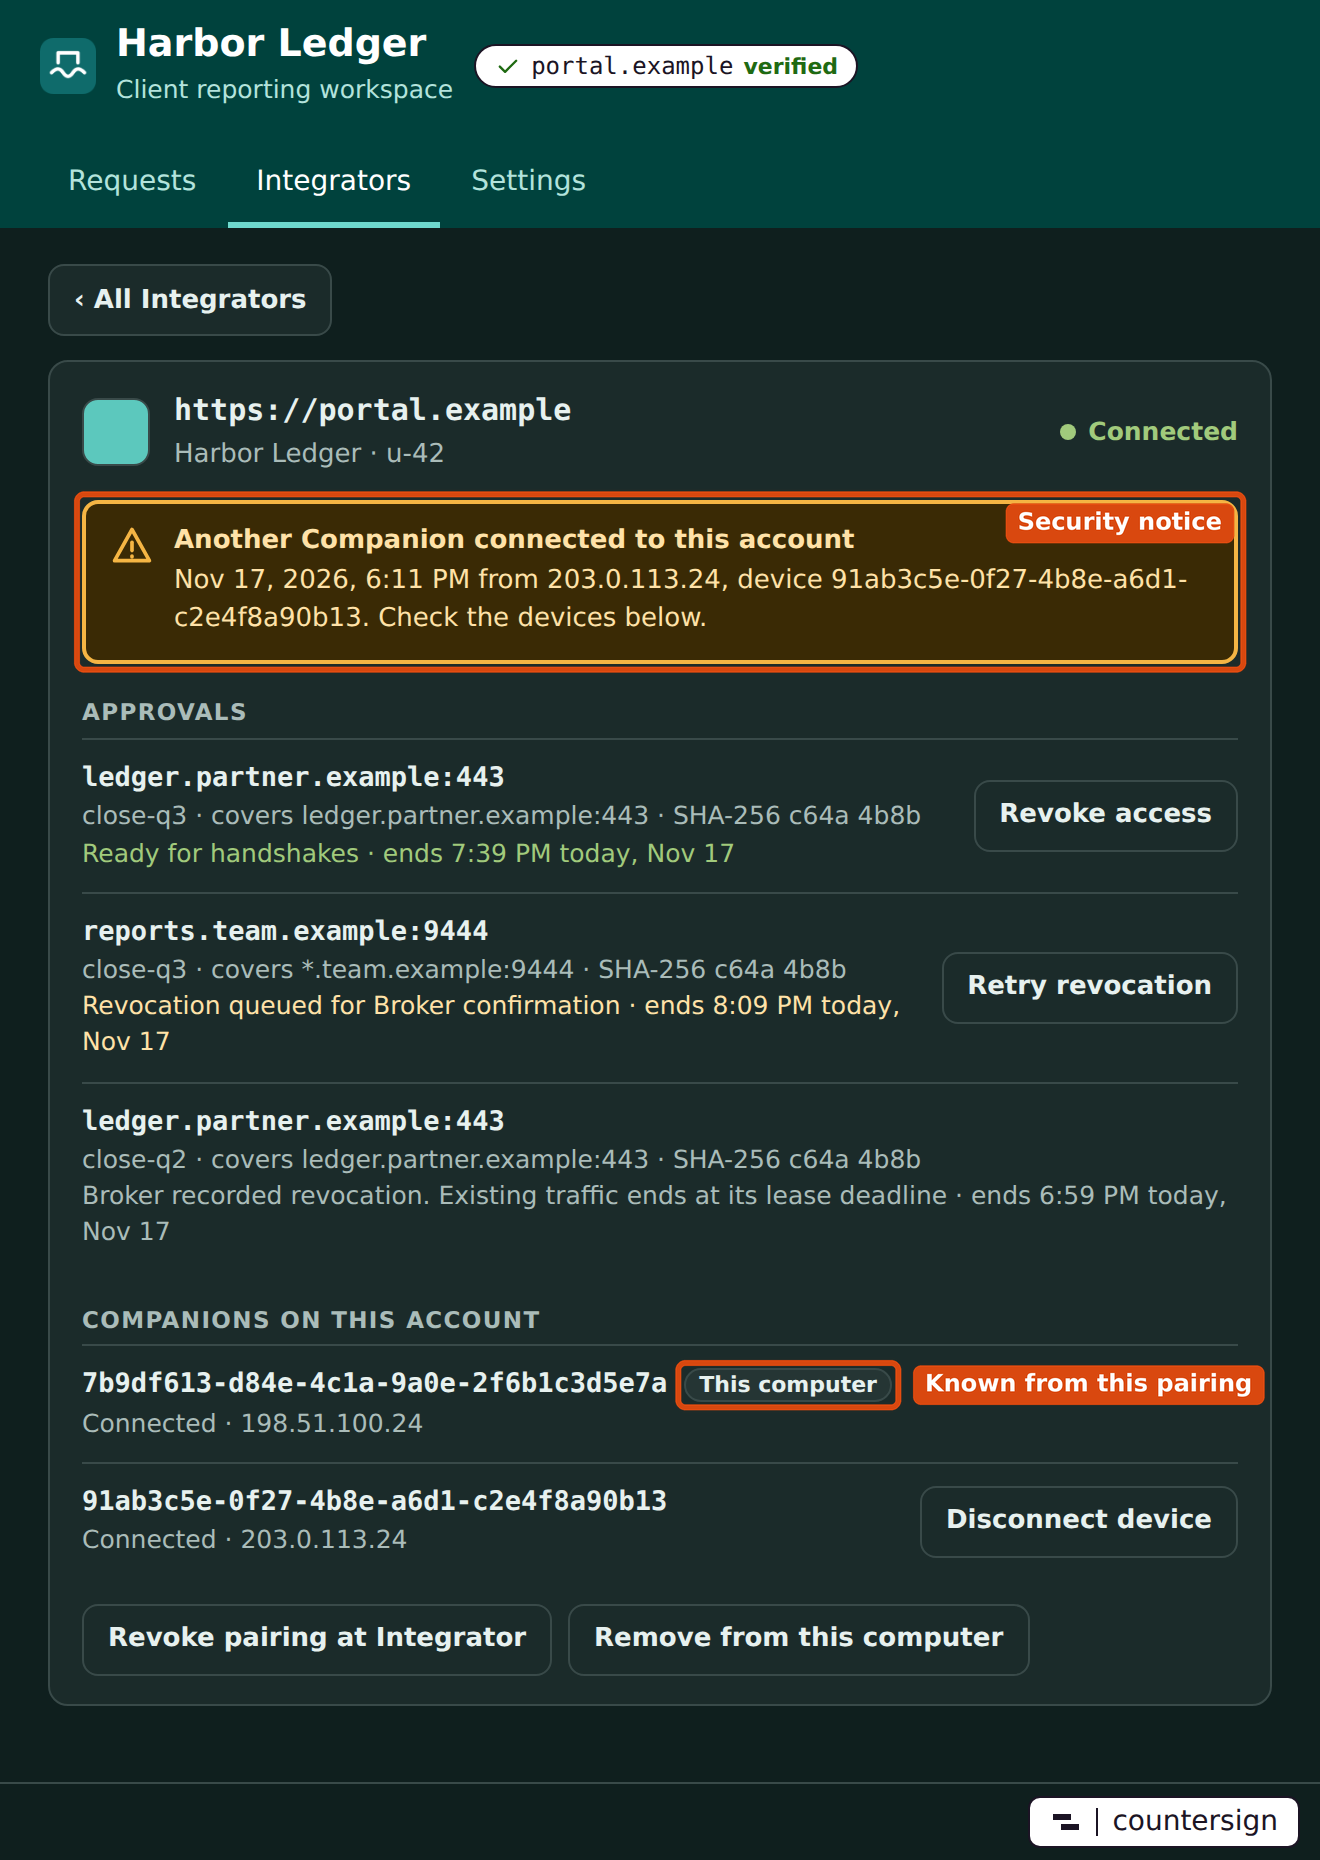
The window has three tabs. Requests shows one approval request at a time and opens by itself when a request arrives. Integrators lists your pairings, each with its own details page. Settings holds Start at login. The window follows your system's light or dark appearance.
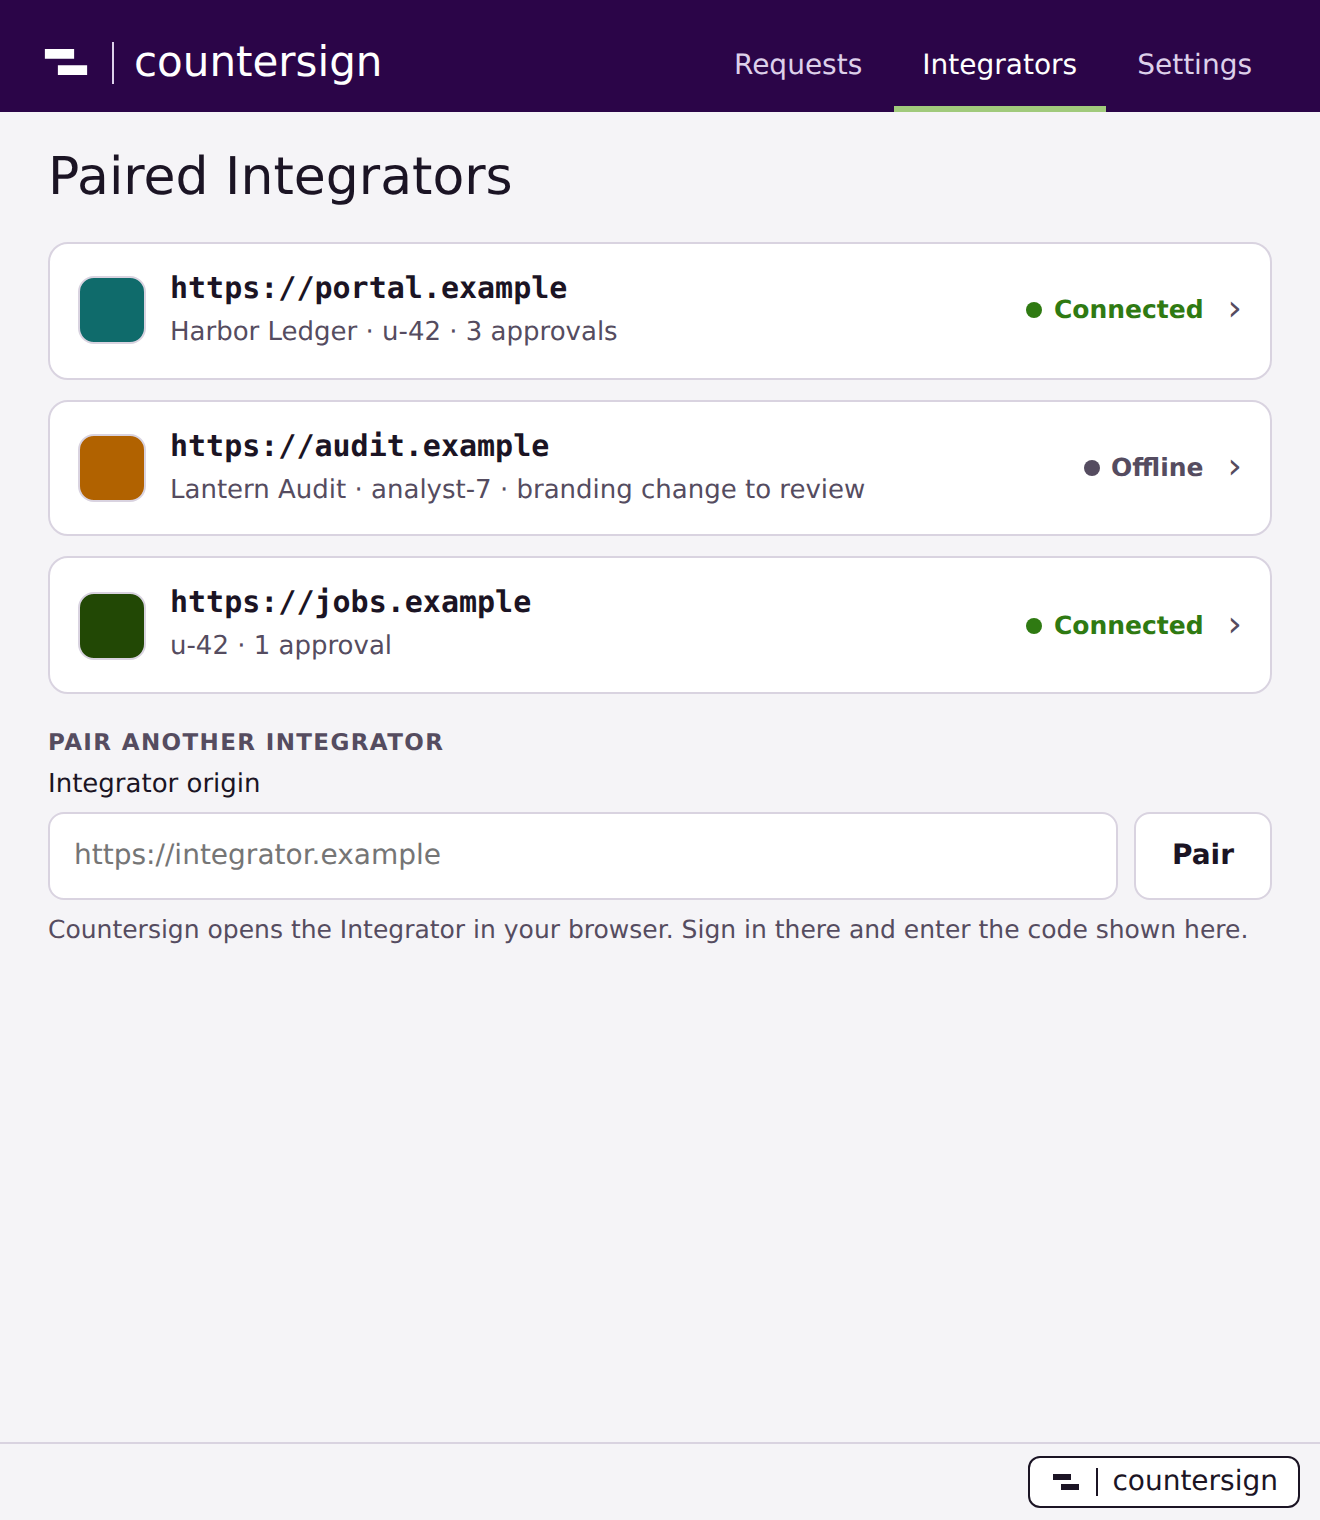
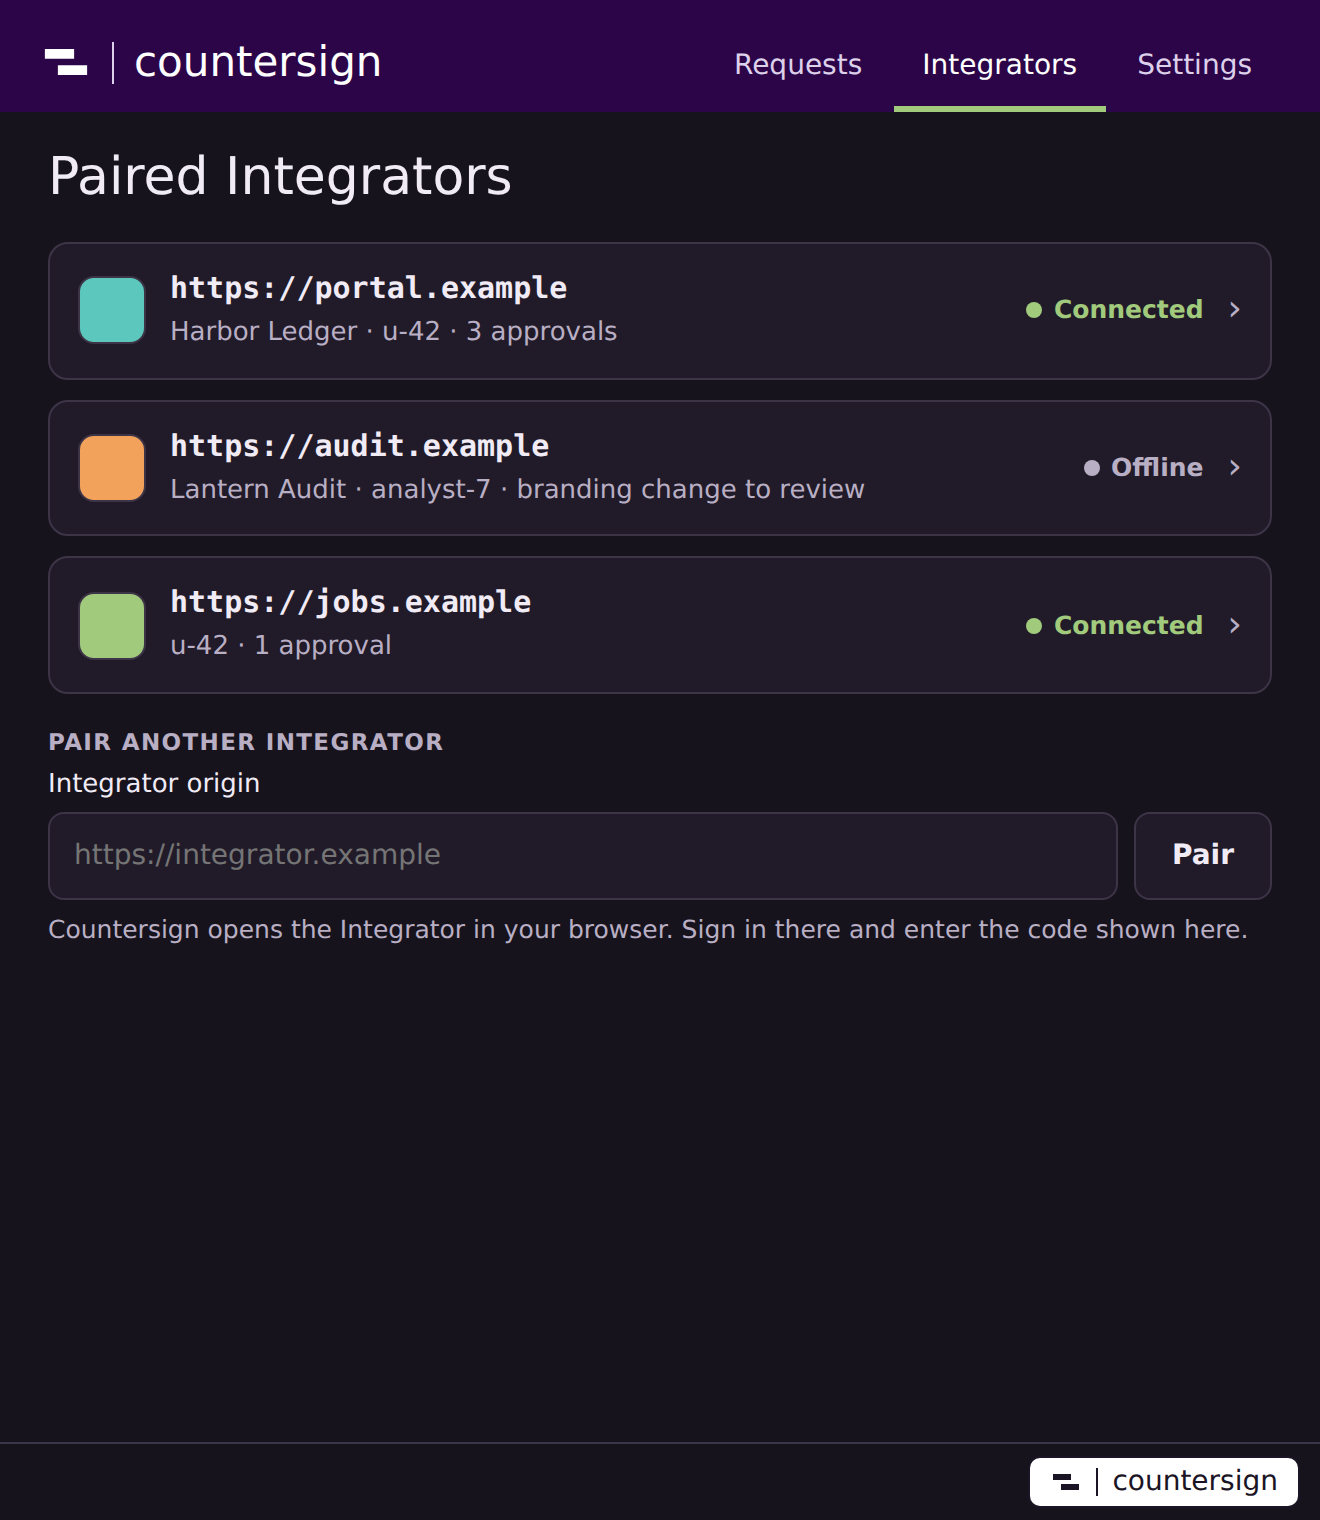
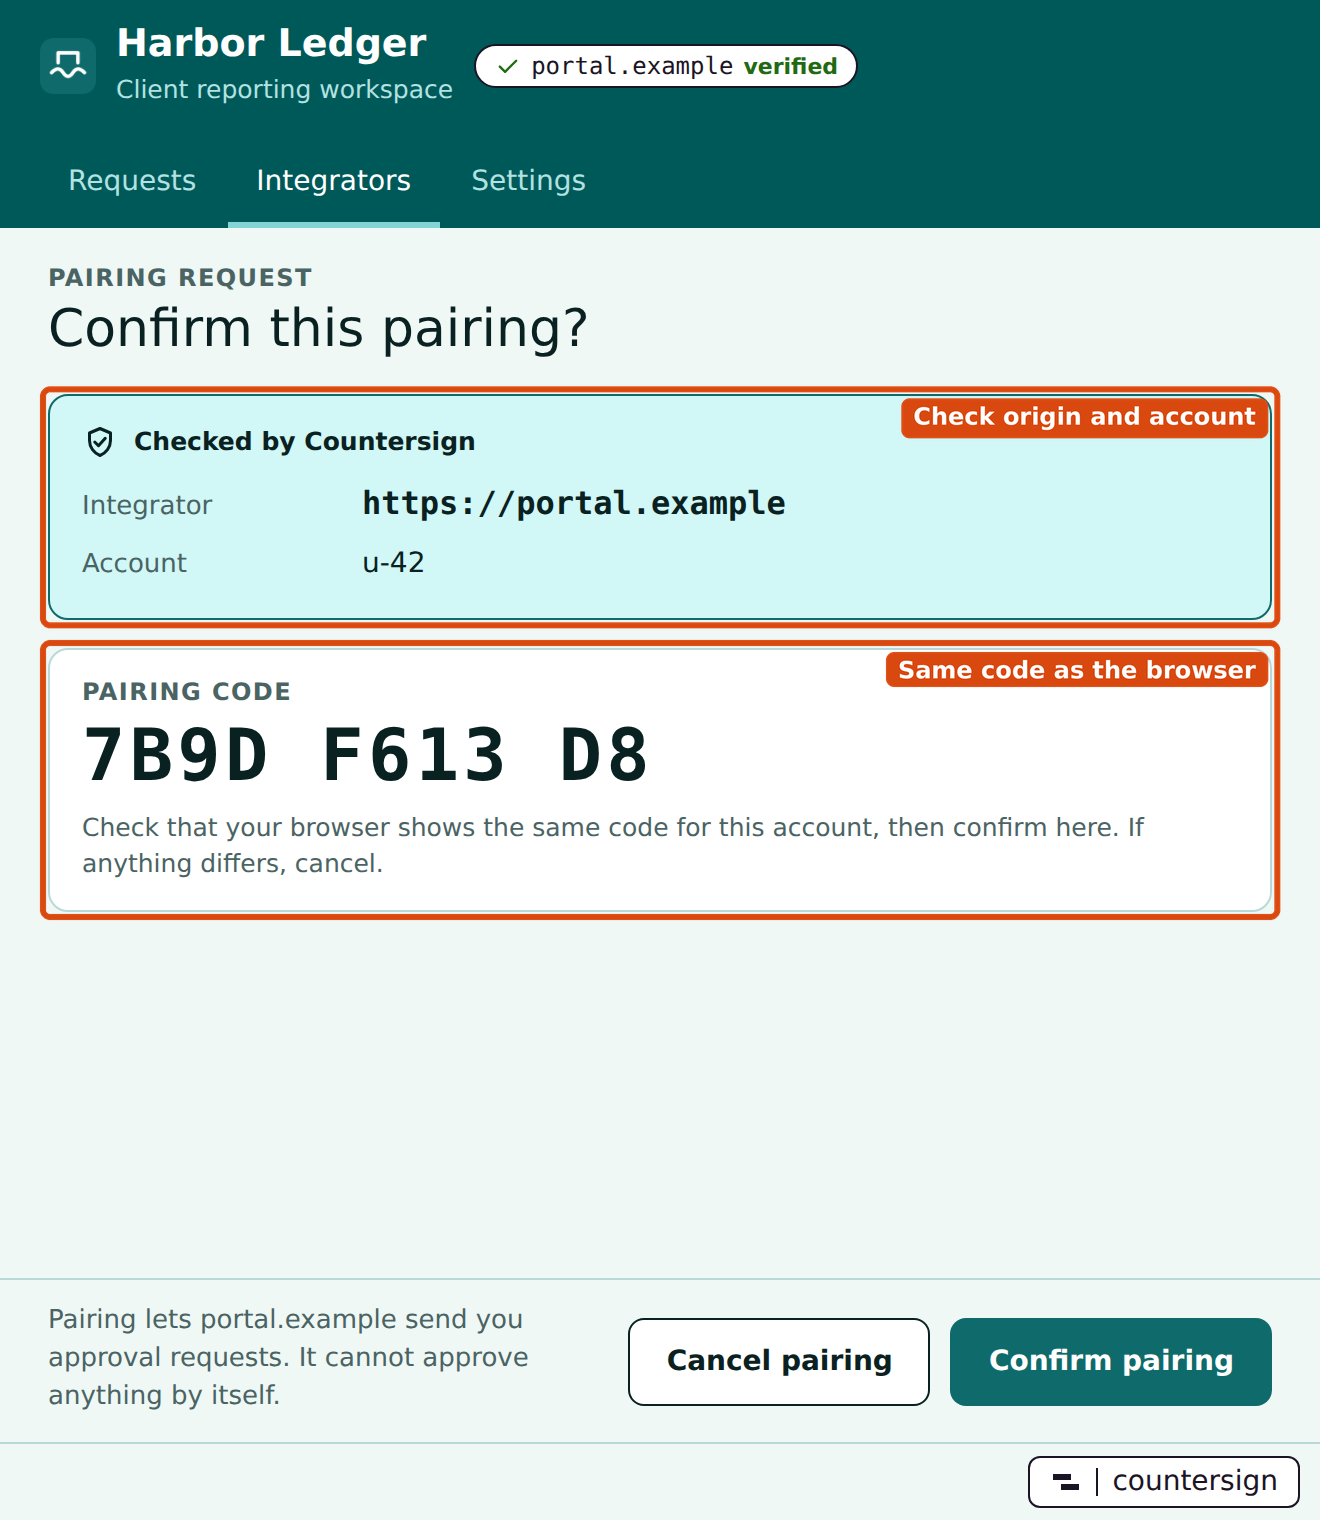
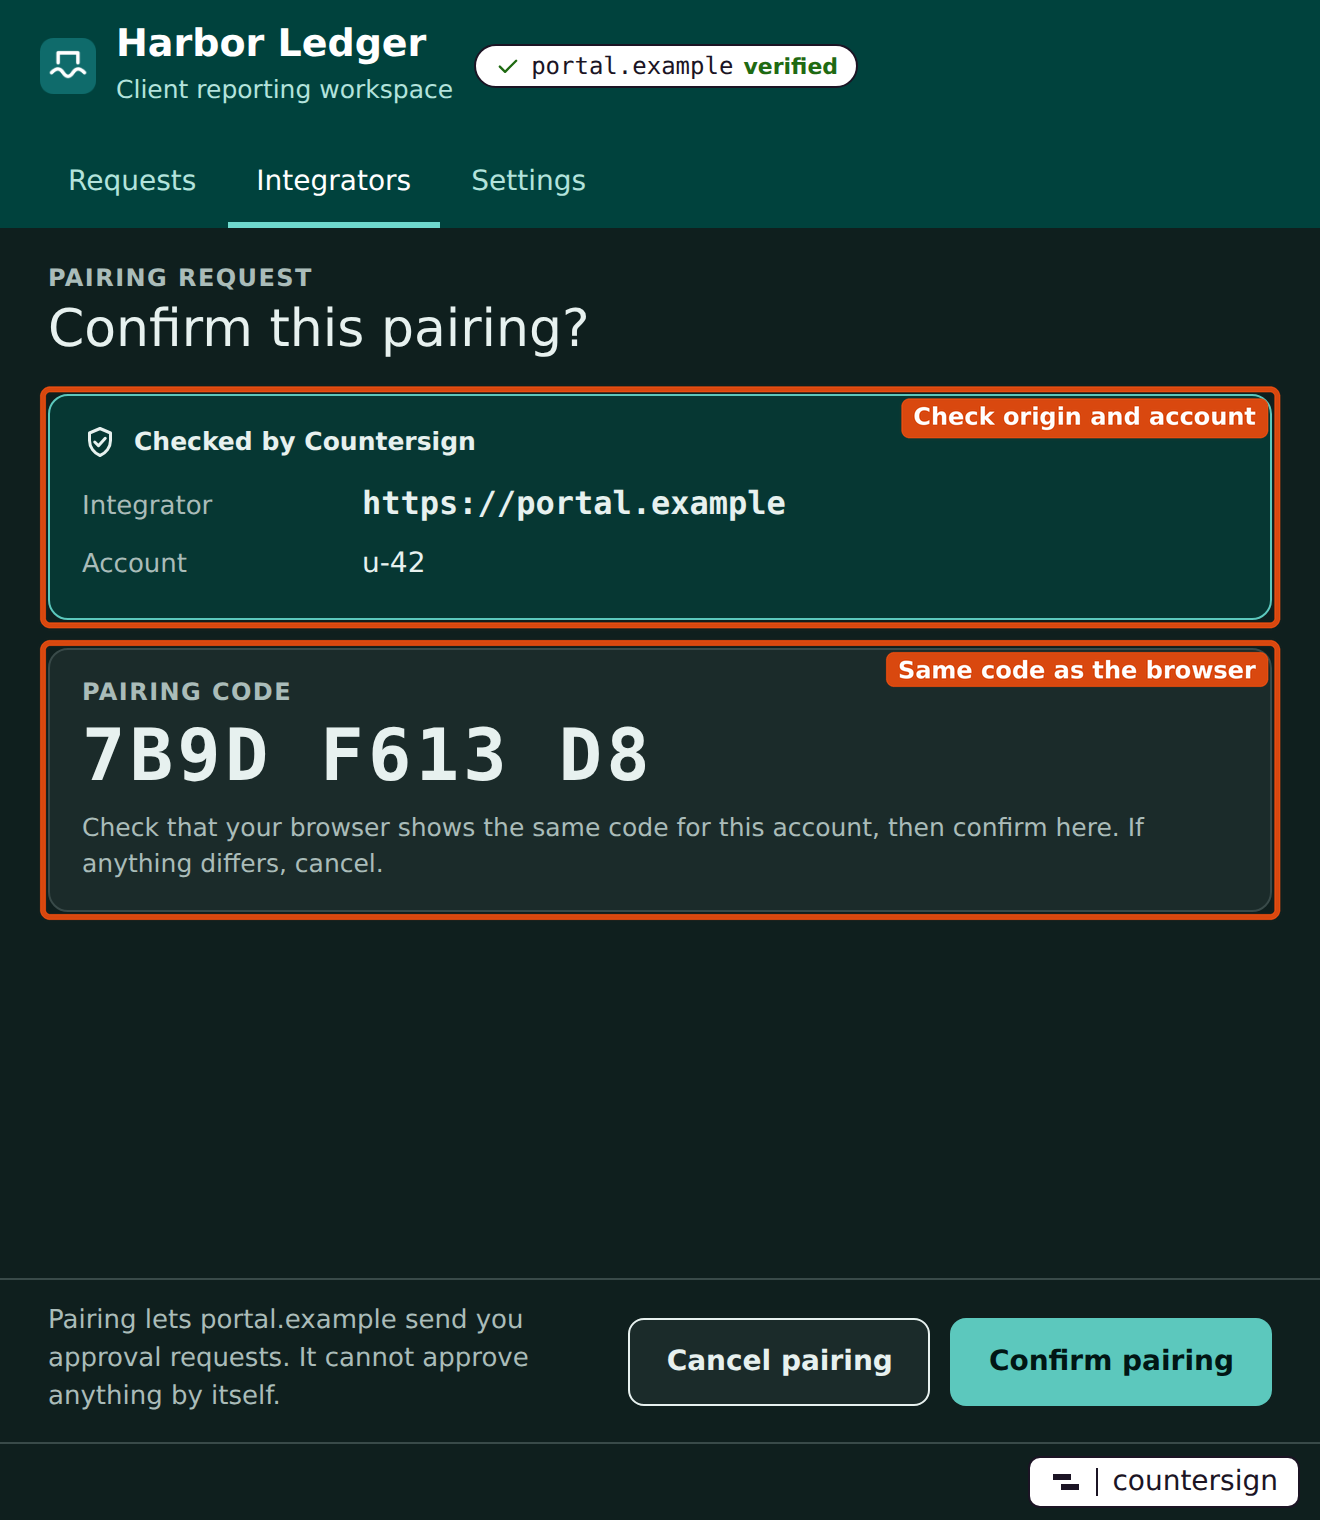
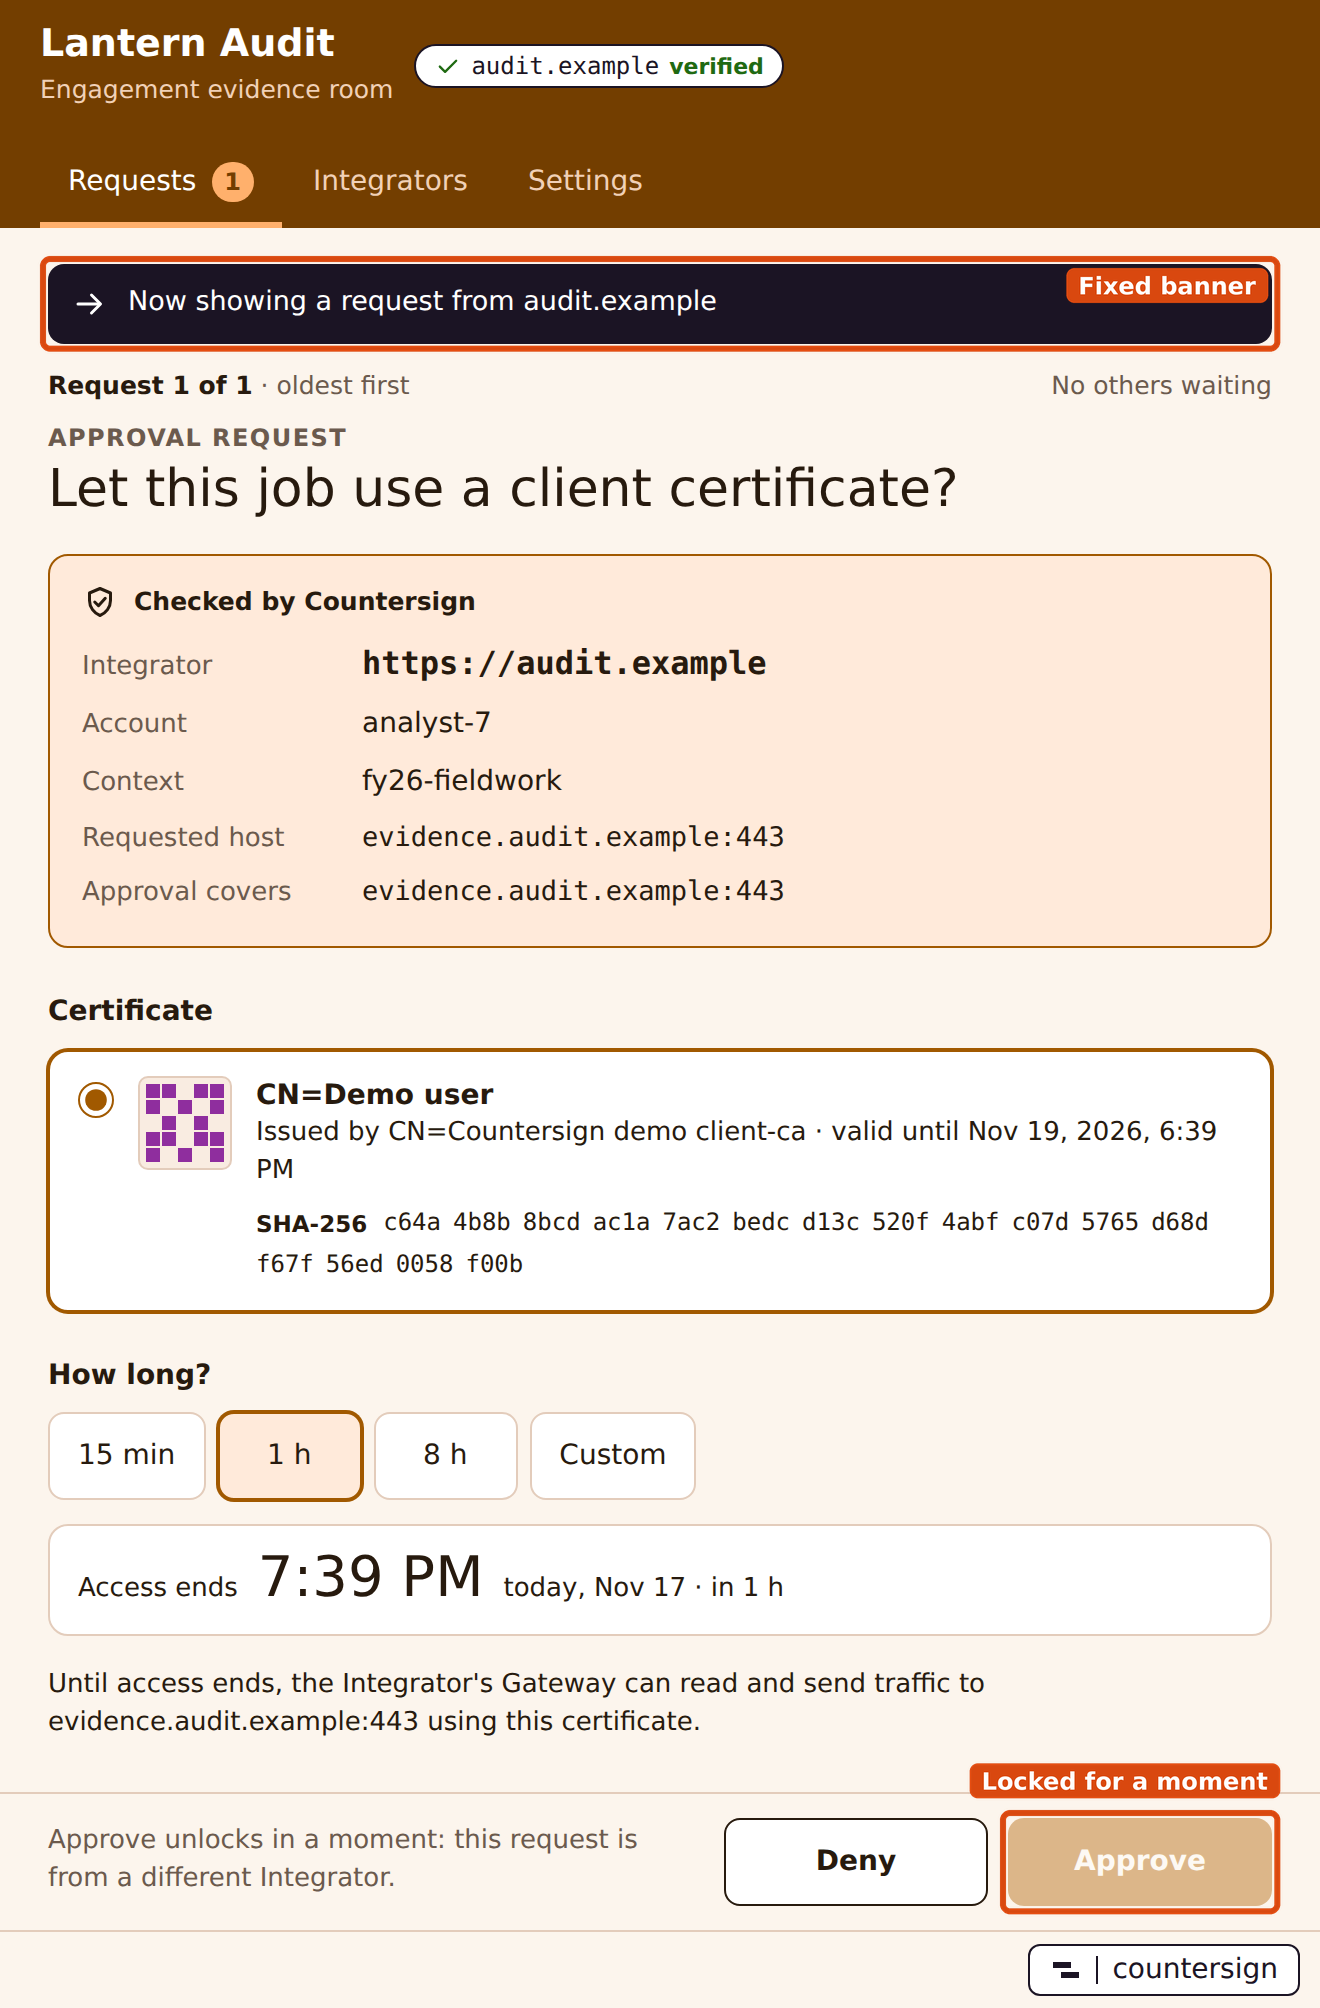
While a request, a pairing confirmation or an Integrator's details are on screen, the whole window takes on that Integrator's colours, with its logo, name and copy in the header beside its verified origin. Lists, Settings and Integrators that publish no branding use Countersign's purple theme. Whatever the colours, the Companion draws the request facts, warnings, certificate details and the Deny and Approve buttons the same way, and the countersign mark stays at the bottom right. What a theme can change
Pair an Integrator
- Get the Integrator's HTTPS origin from your signed-in service. On the Integrators tab, enter the full origin, including a nonstandard port, in Integrator origin and choose Pair.
- The Companion opens the Integrator in your browser and shows a pairing code. Sign into the intended account in the browser and enter that code.
- Back in the Companion, check the verified origin, account and code before choosing Confirm pairing. The Integrator then appears in the list. A second Integrator gets its own pairing and connection.
The browser half of pairing is illustrated in the demo walkthrough.
Decide what to approve
Open the local notification, choose Open Companion on the Integrator's site, or open the tray app. Requests wait in a queue and the Companion shows the oldest first, with a count of the others. Read the verified origin and account first under Checked by Countersign, then check that the Context corresponds to the job you started. Requested host identifies the immediate connection. Approval covers describes every destination the job can reach with this grant.
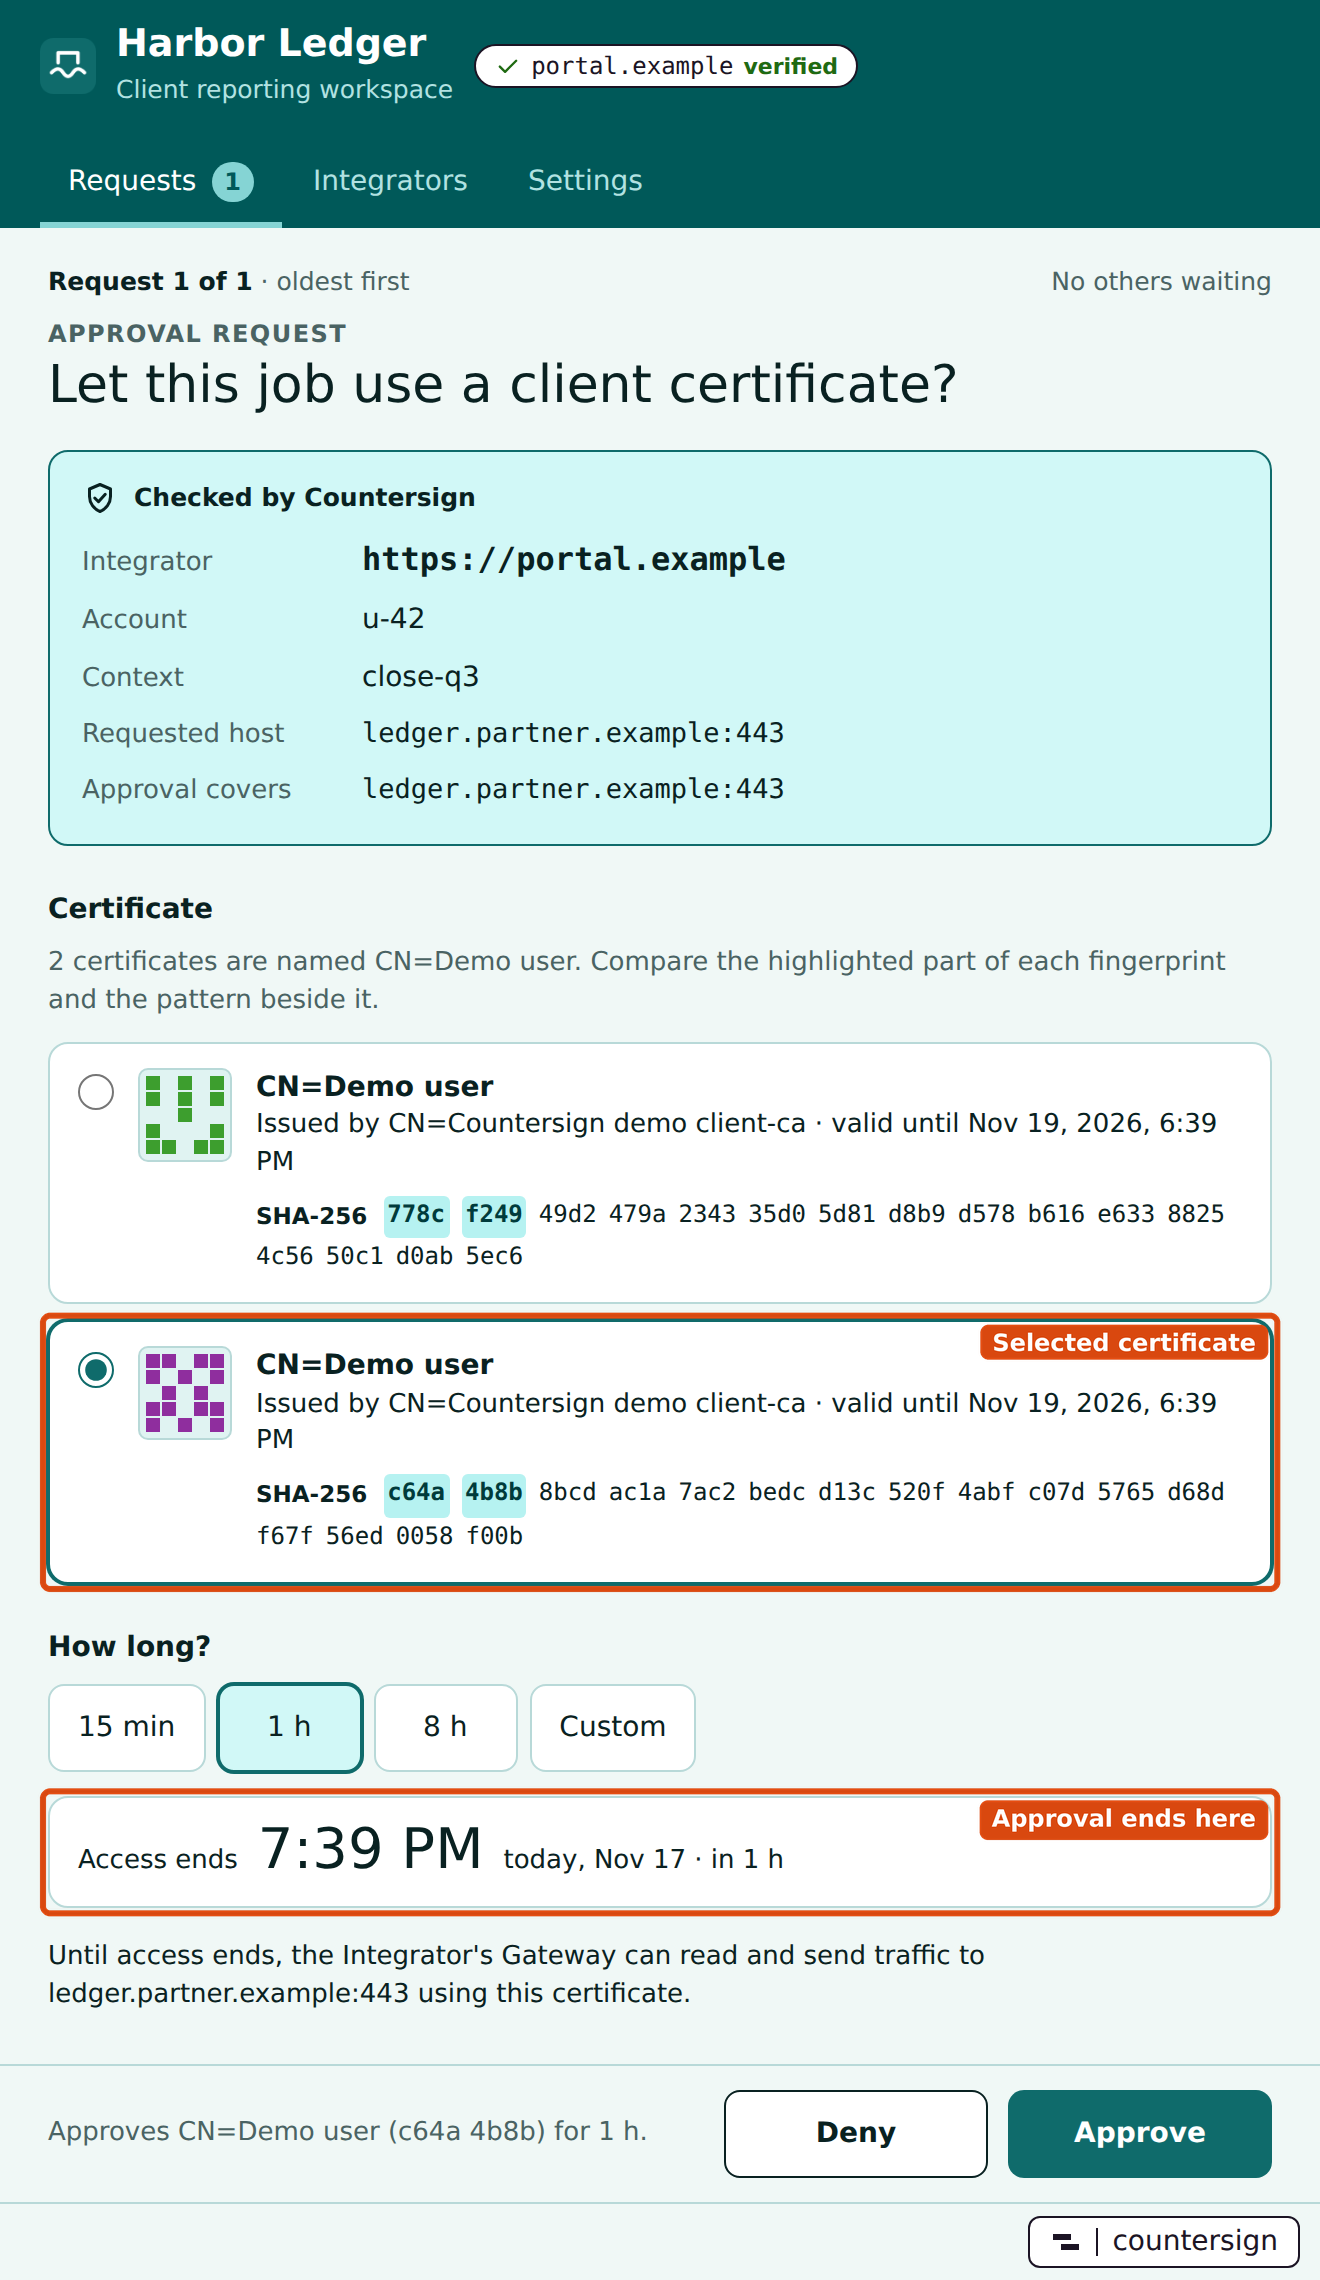
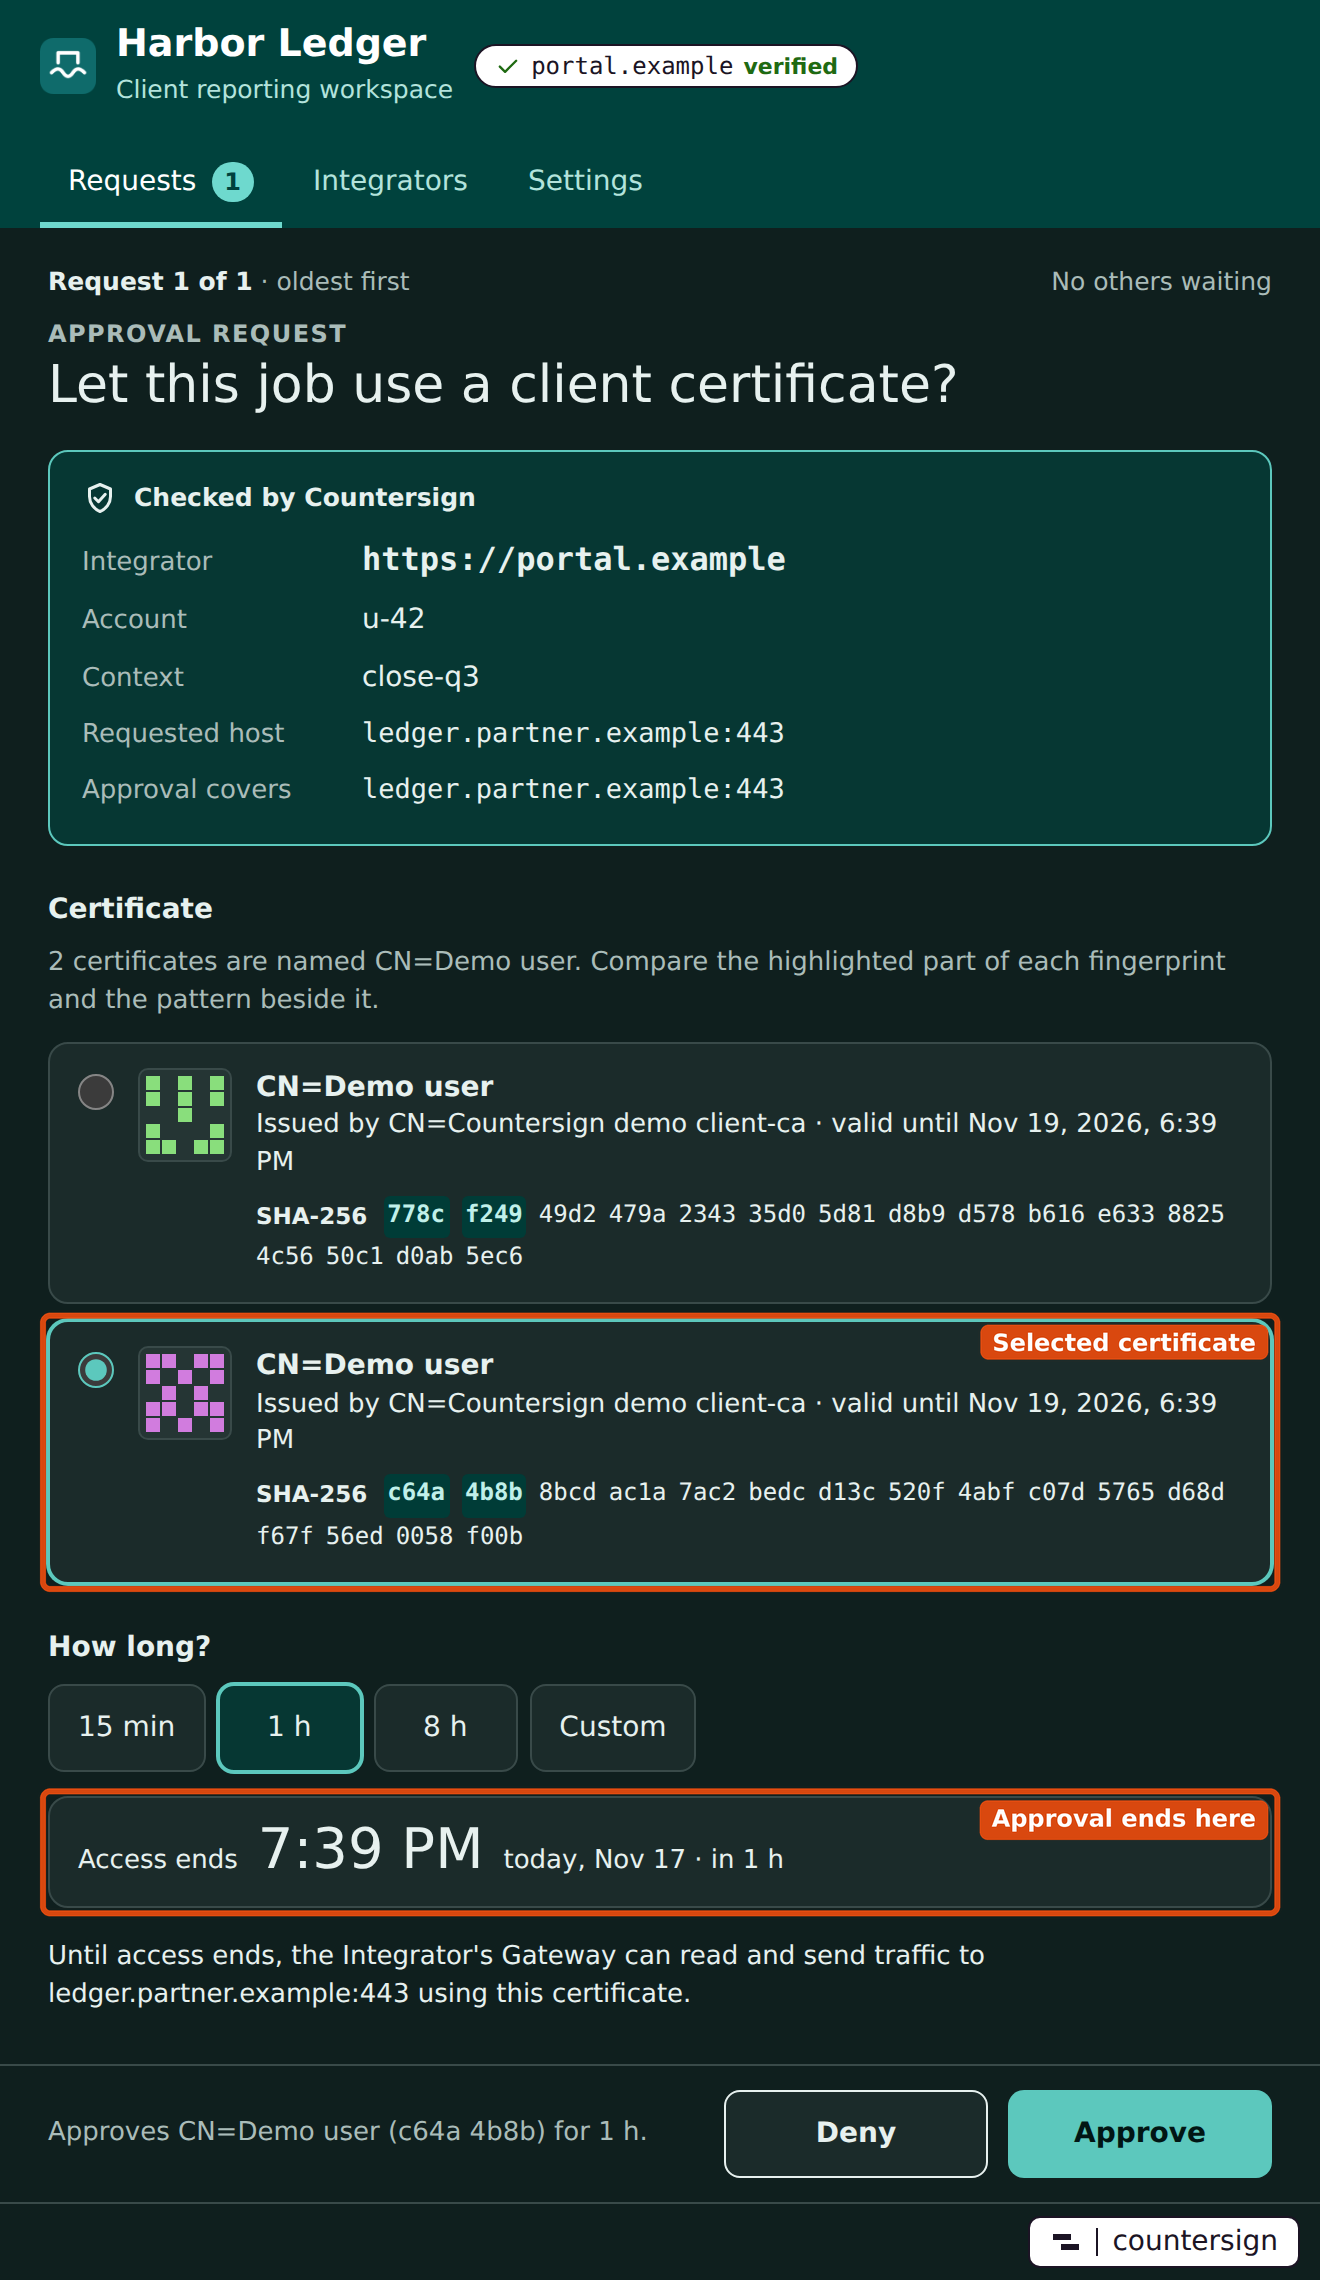
The Companion lists the eligible installed certificates. With two or more, you must select one before Approve becomes available. When certificates share a name, the part of each SHA-256 fingerprint where they first differ is highlighted, and a pattern drawn from the fingerprint sits beside each one. Also compare the issuer and expiry. With one eligible certificate, it is selected and still needs your approval. If none qualify, or the certificate provider is unavailable, a warning explains why and you can deny the request. Only the selected public chain is sent to the Broker.
Pick 15 min, 1 h or 8 h, or choose Custom to enter minutes. The administrator's limit disables longer presets. Access ends shows the time the approval stops and how far away it is. If the selected certificate expires first, a warning says that access ends with the certificate. Approval lets this job use the certificate for further handshakes within that scope and duration. A native provider may separately prompt to unlock a key or token.
Each request that appears locks Approve for about a second, so a click meant for the previous screen cannot approve it. When the next request comes from a different Integrator, a banner reads Now showing a request from and the origin, and the window changes to that Integrator's colours.
Read a wildcard approval
In this example, the job requested reports.team.example:9444. The administrator enabled approval for the whole *.team.example:9444 entry. That can also cover archive.team.example:9444 under the same policy. The apex, deeper names and other ports fall outside this scope. The normal setting even for a wildcard entry is an approval for the single requested host.
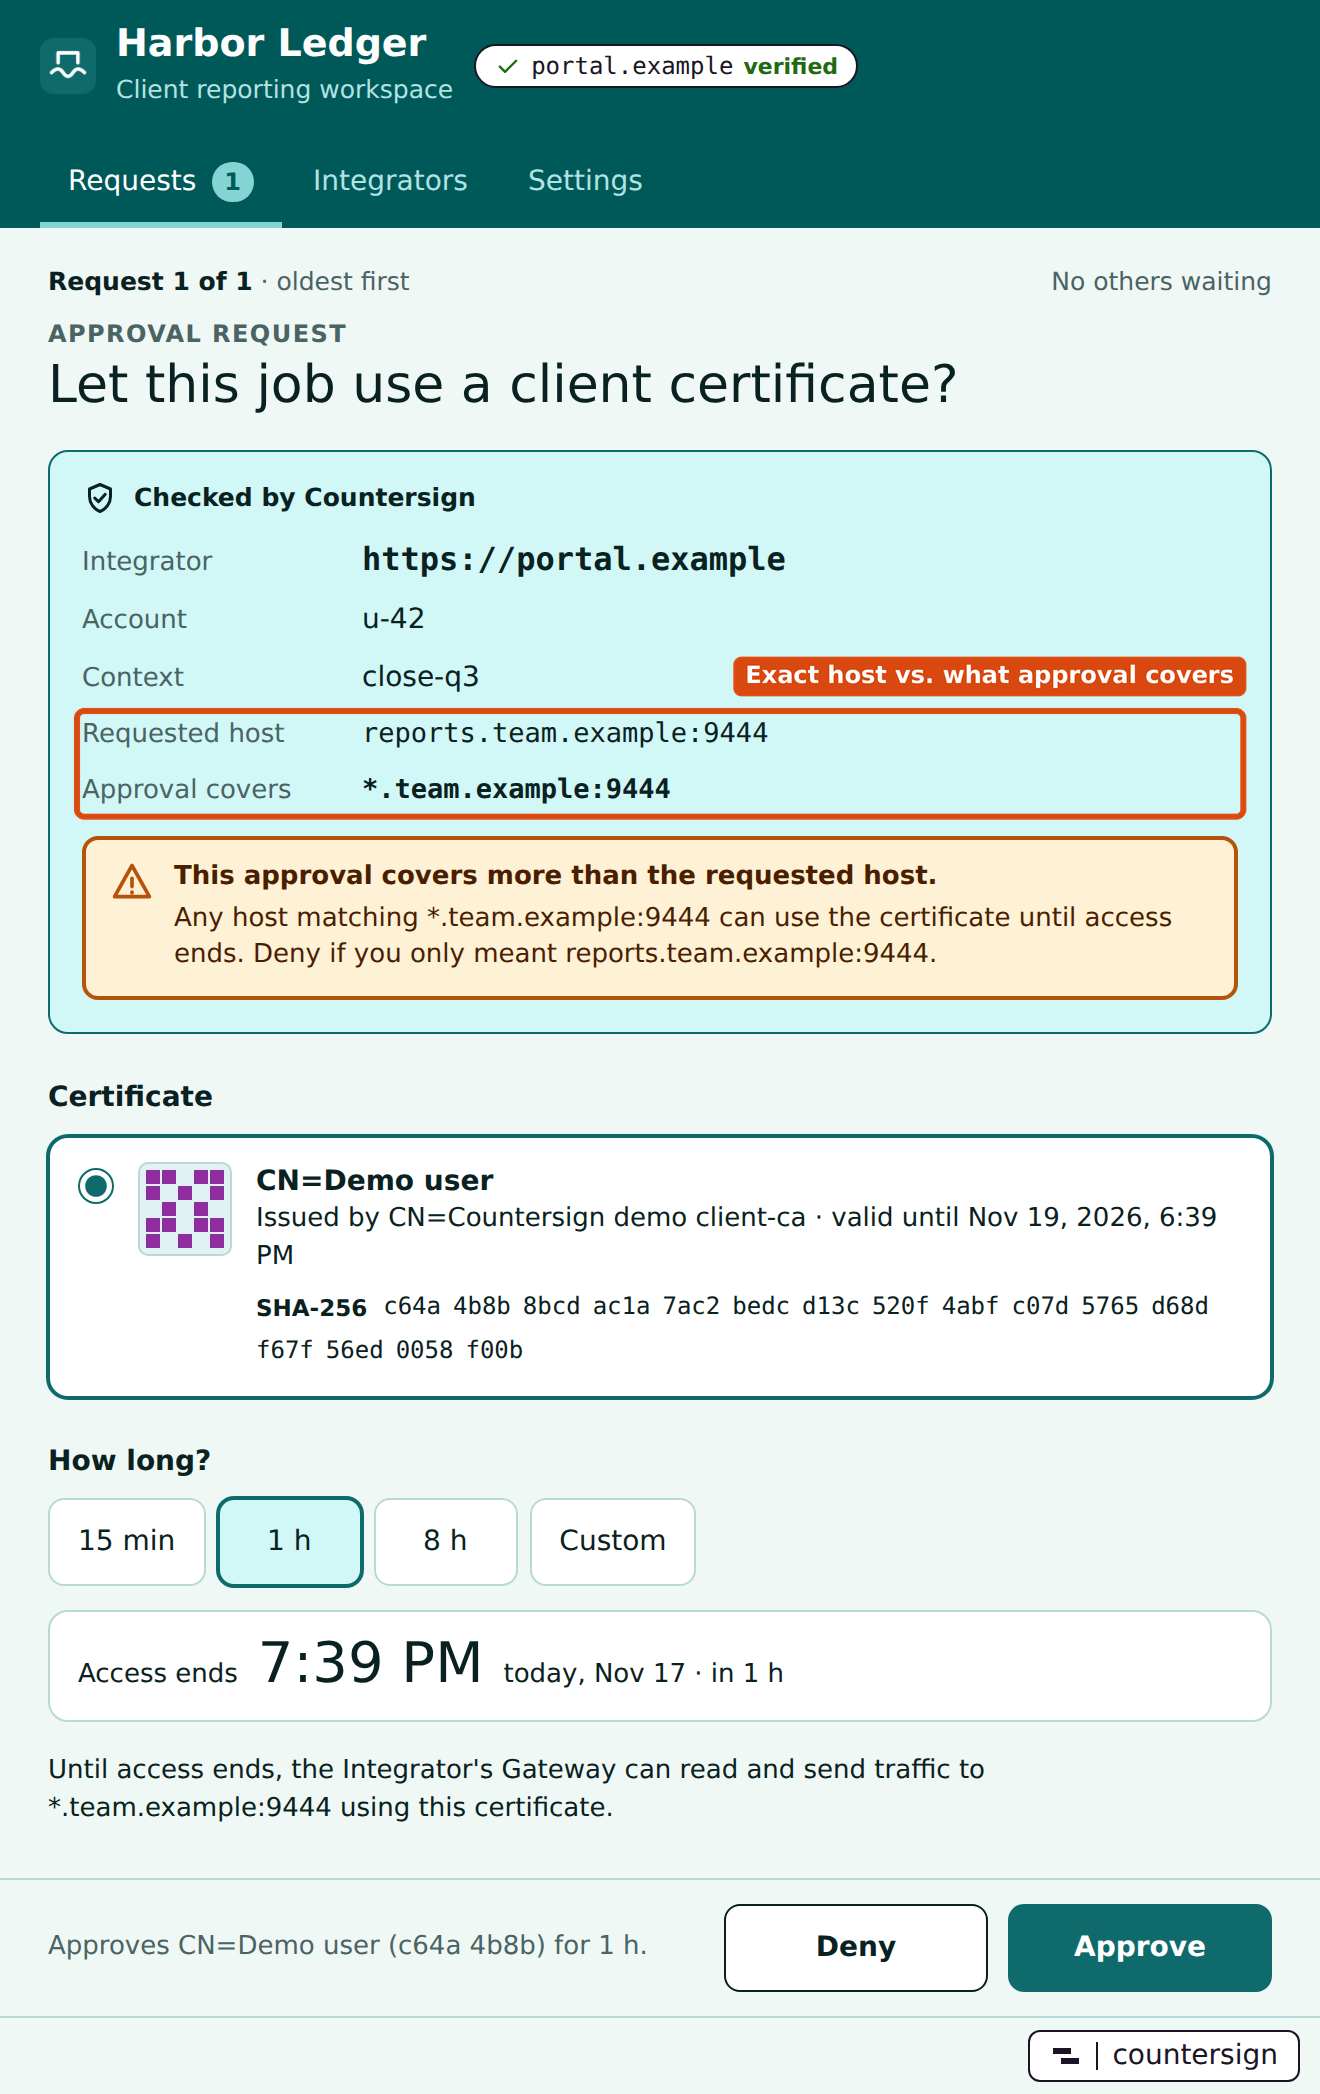
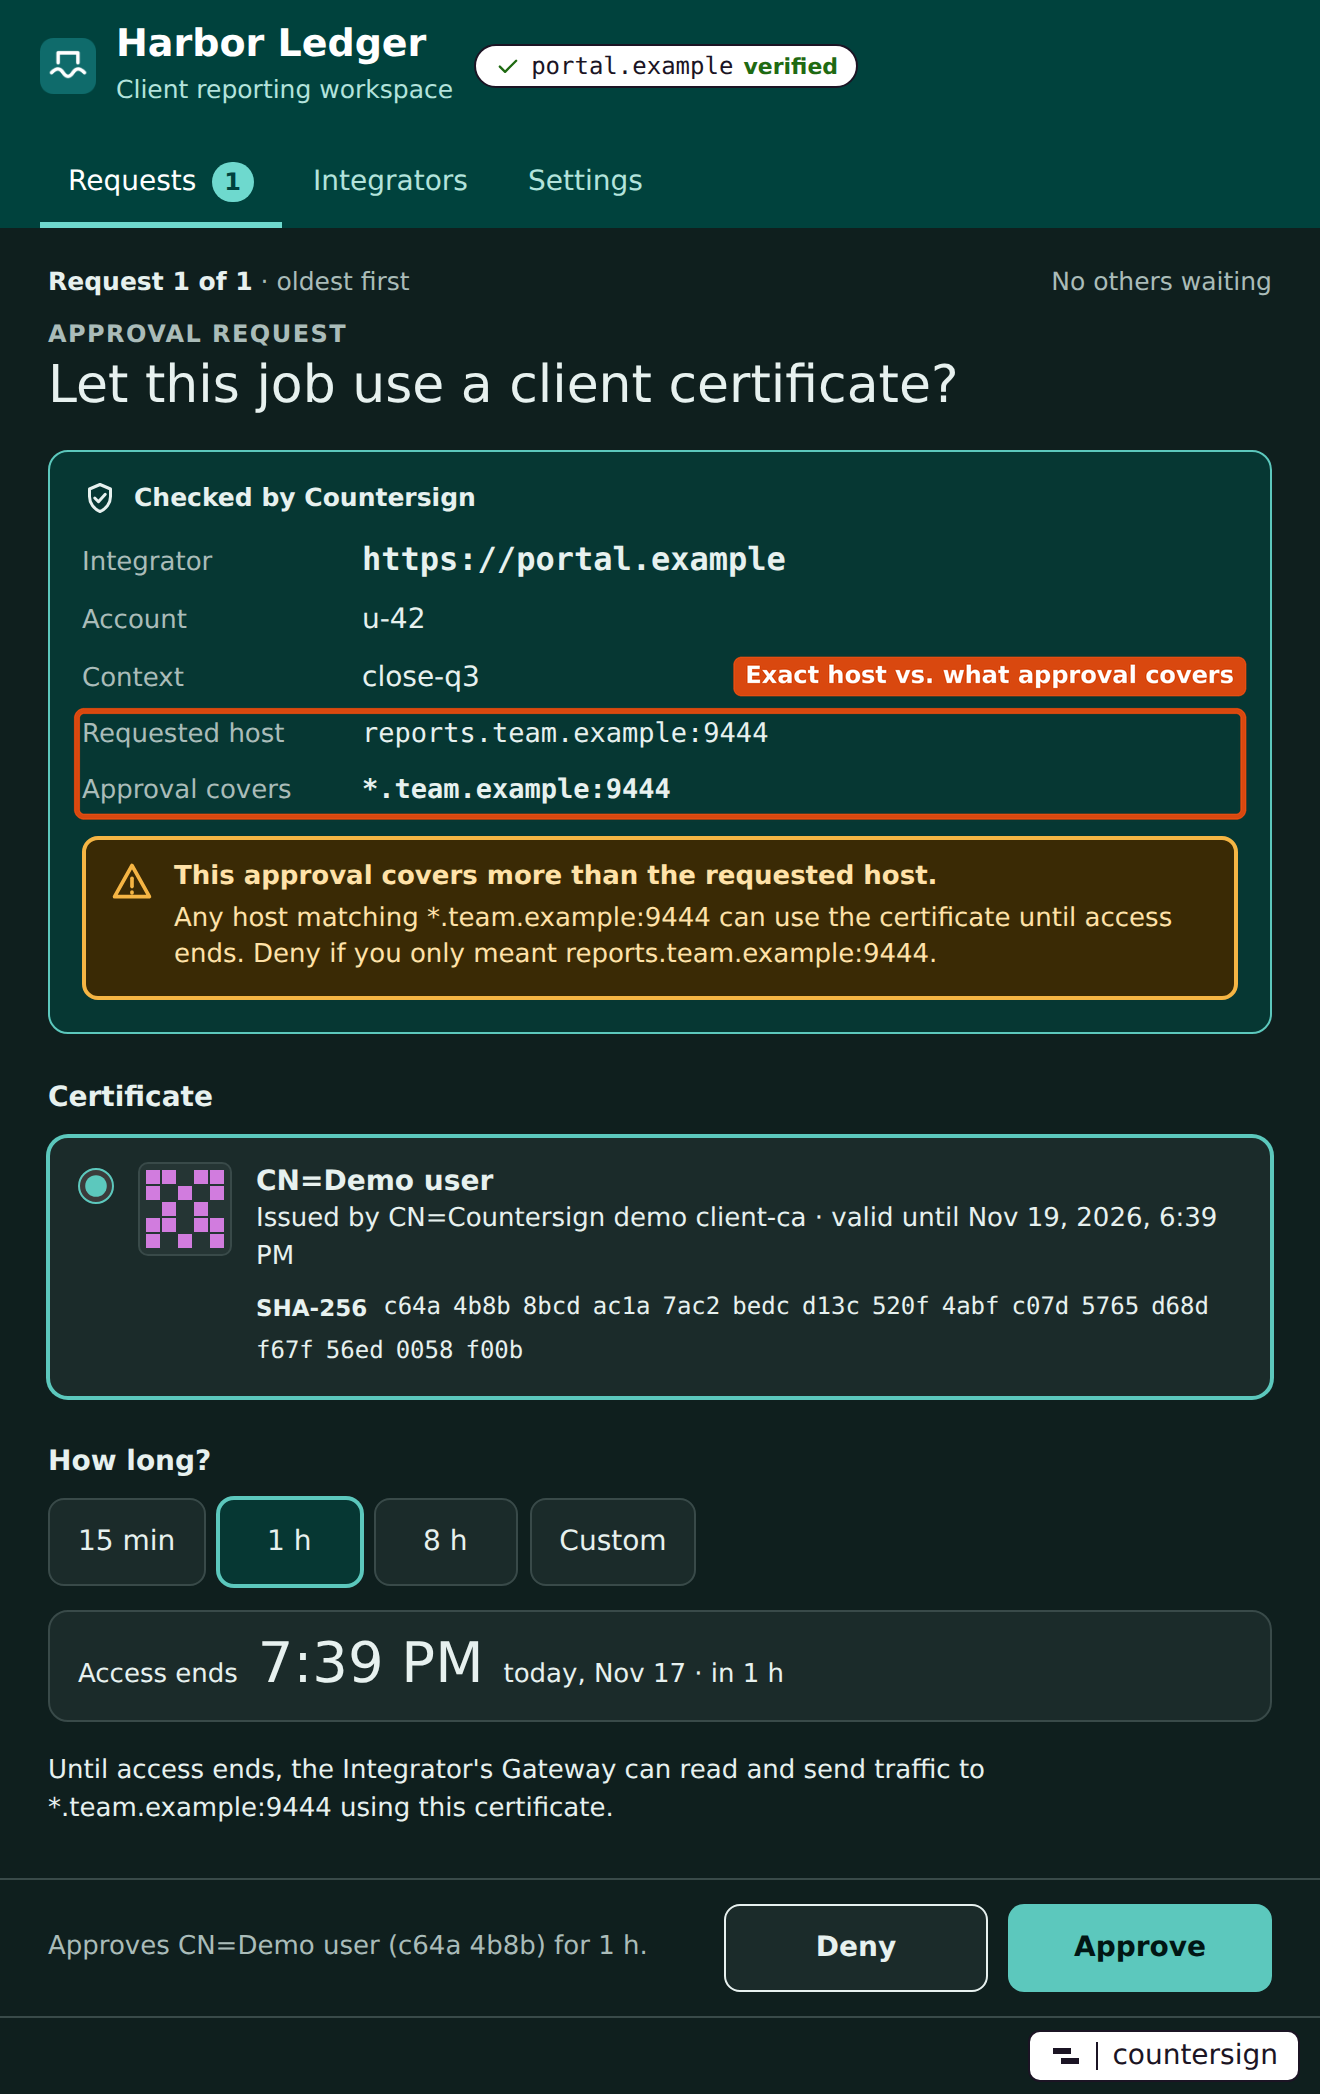
Choose Deny if the scope is wider than you intended. The Integrator can request access again after it changes the policy. If several desktops receive an offer, the first committed decision settles it for all of them. An approved grant uses the identity on the desktop that won the request.
Manage an Integrator
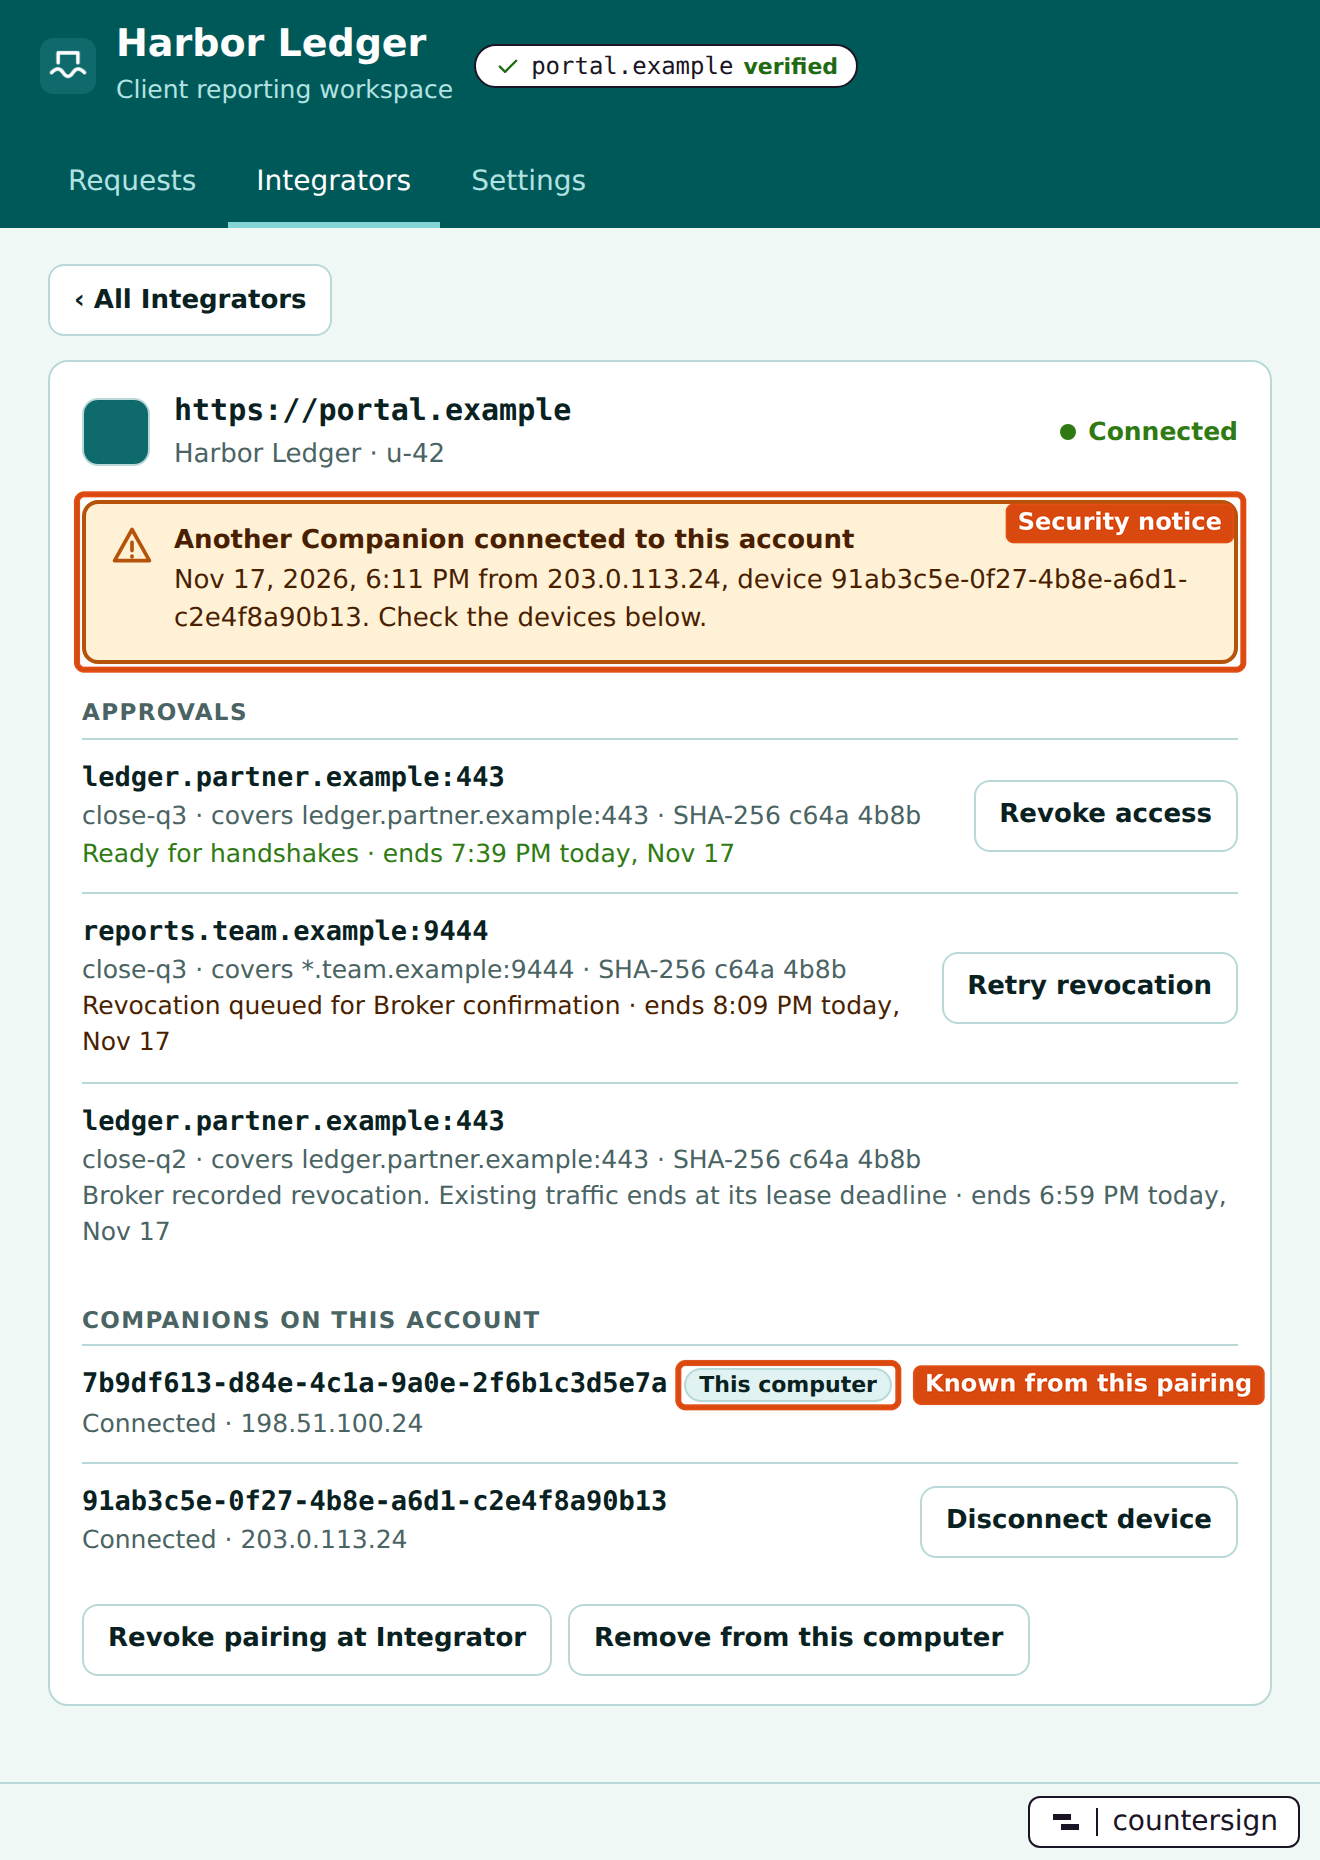
Choose an Integrator on the Integrators tab to open its details. The page shows the connection status, current approvals, the Companions paired to your account, and any security notices. This computer marks this Companion's own pairing in the device list.
| Action | What happens |
|---|---|
| Close the window | The Companion stays in the tray and continues to receive requests and sign approved handshakes. |
| Choose Quit in the tray | New handshakes require the approving desktop to reconnect. Established traffic can continue while its leases renew, up to the grant's expiry. |
| Choose Revoke access on an approval | The Companion queues the revocation and shows when the Broker records it. From that point outstanding traffic has at most its existing lease budget. |
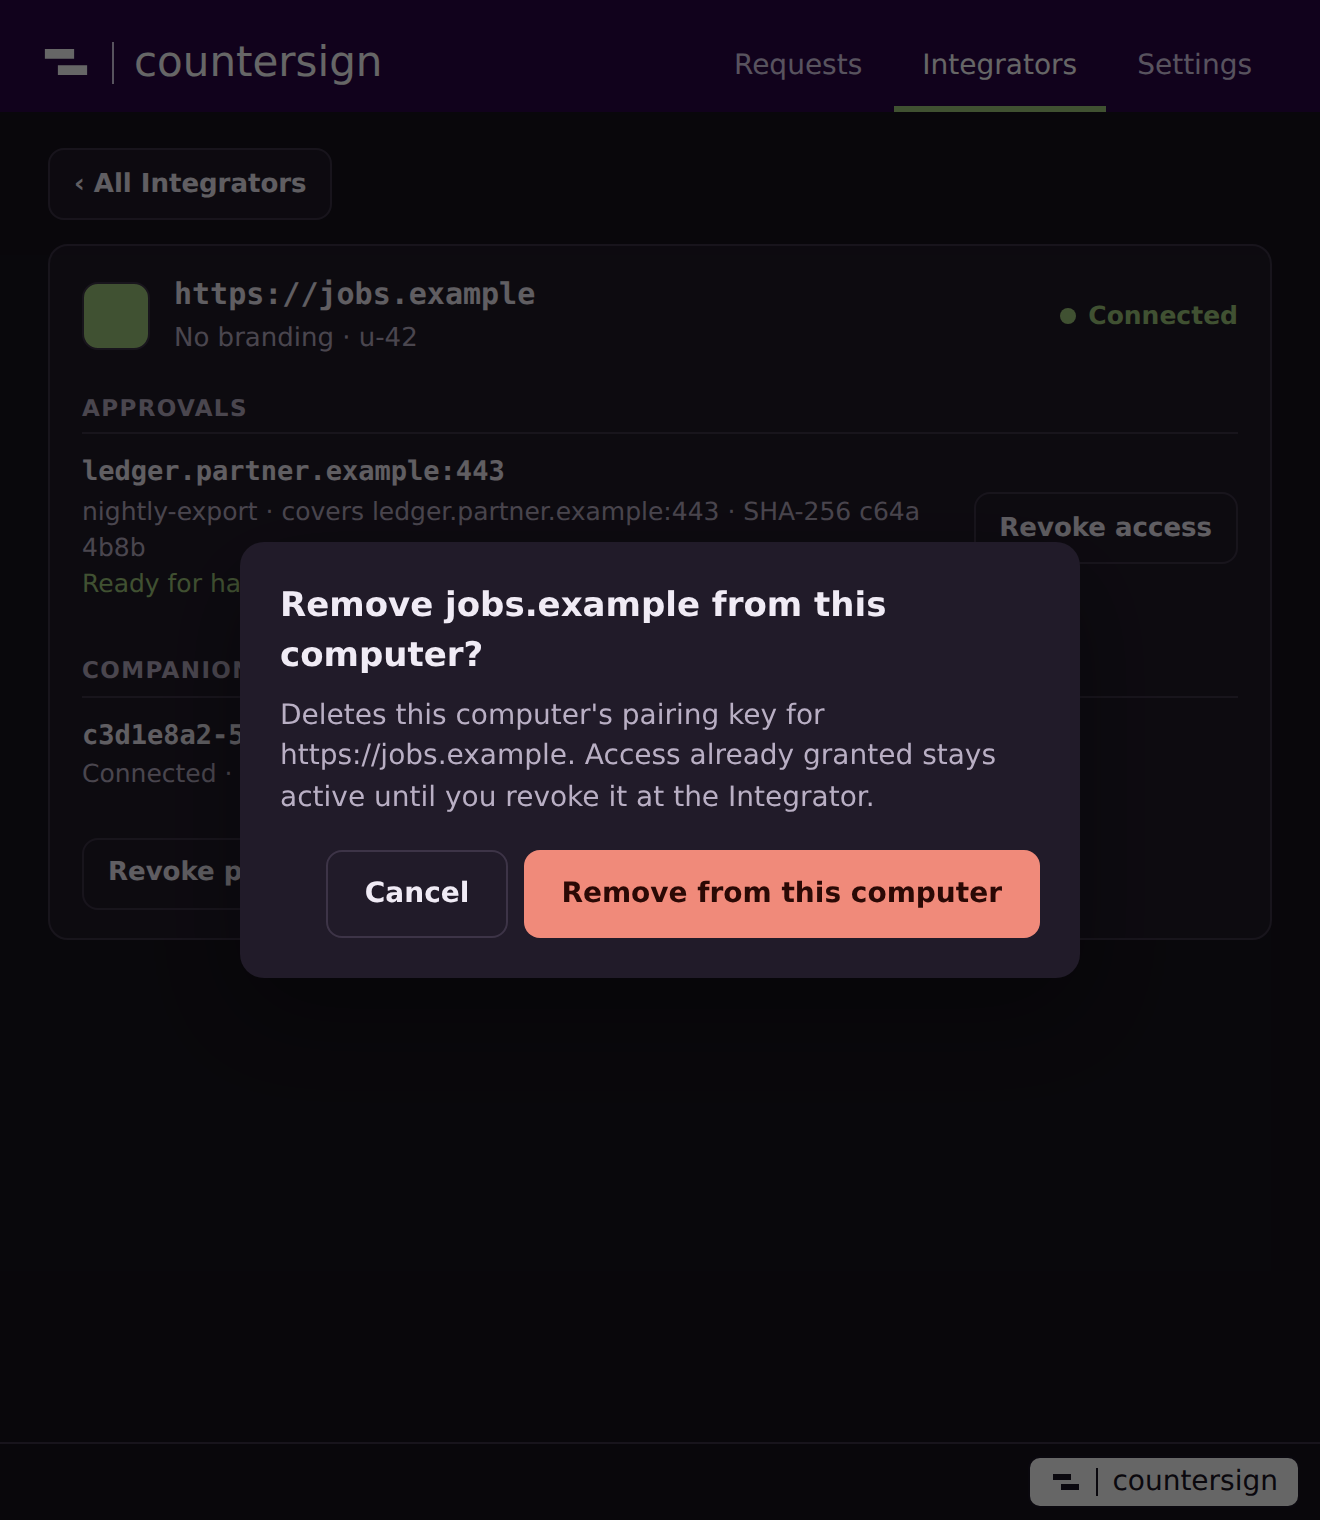
| Choose Remove from this computer | After you confirm in the dialog, deletes this computer's pairing key and local state. Use the Integrator's device controls to end the remote pairing and grants. |
| Choose Revoke pairing at Integrator | After you confirm, opens the verified Integrator's device-management page. Select the pairing to forget. You can also use that page from another computer if this one is lost. |
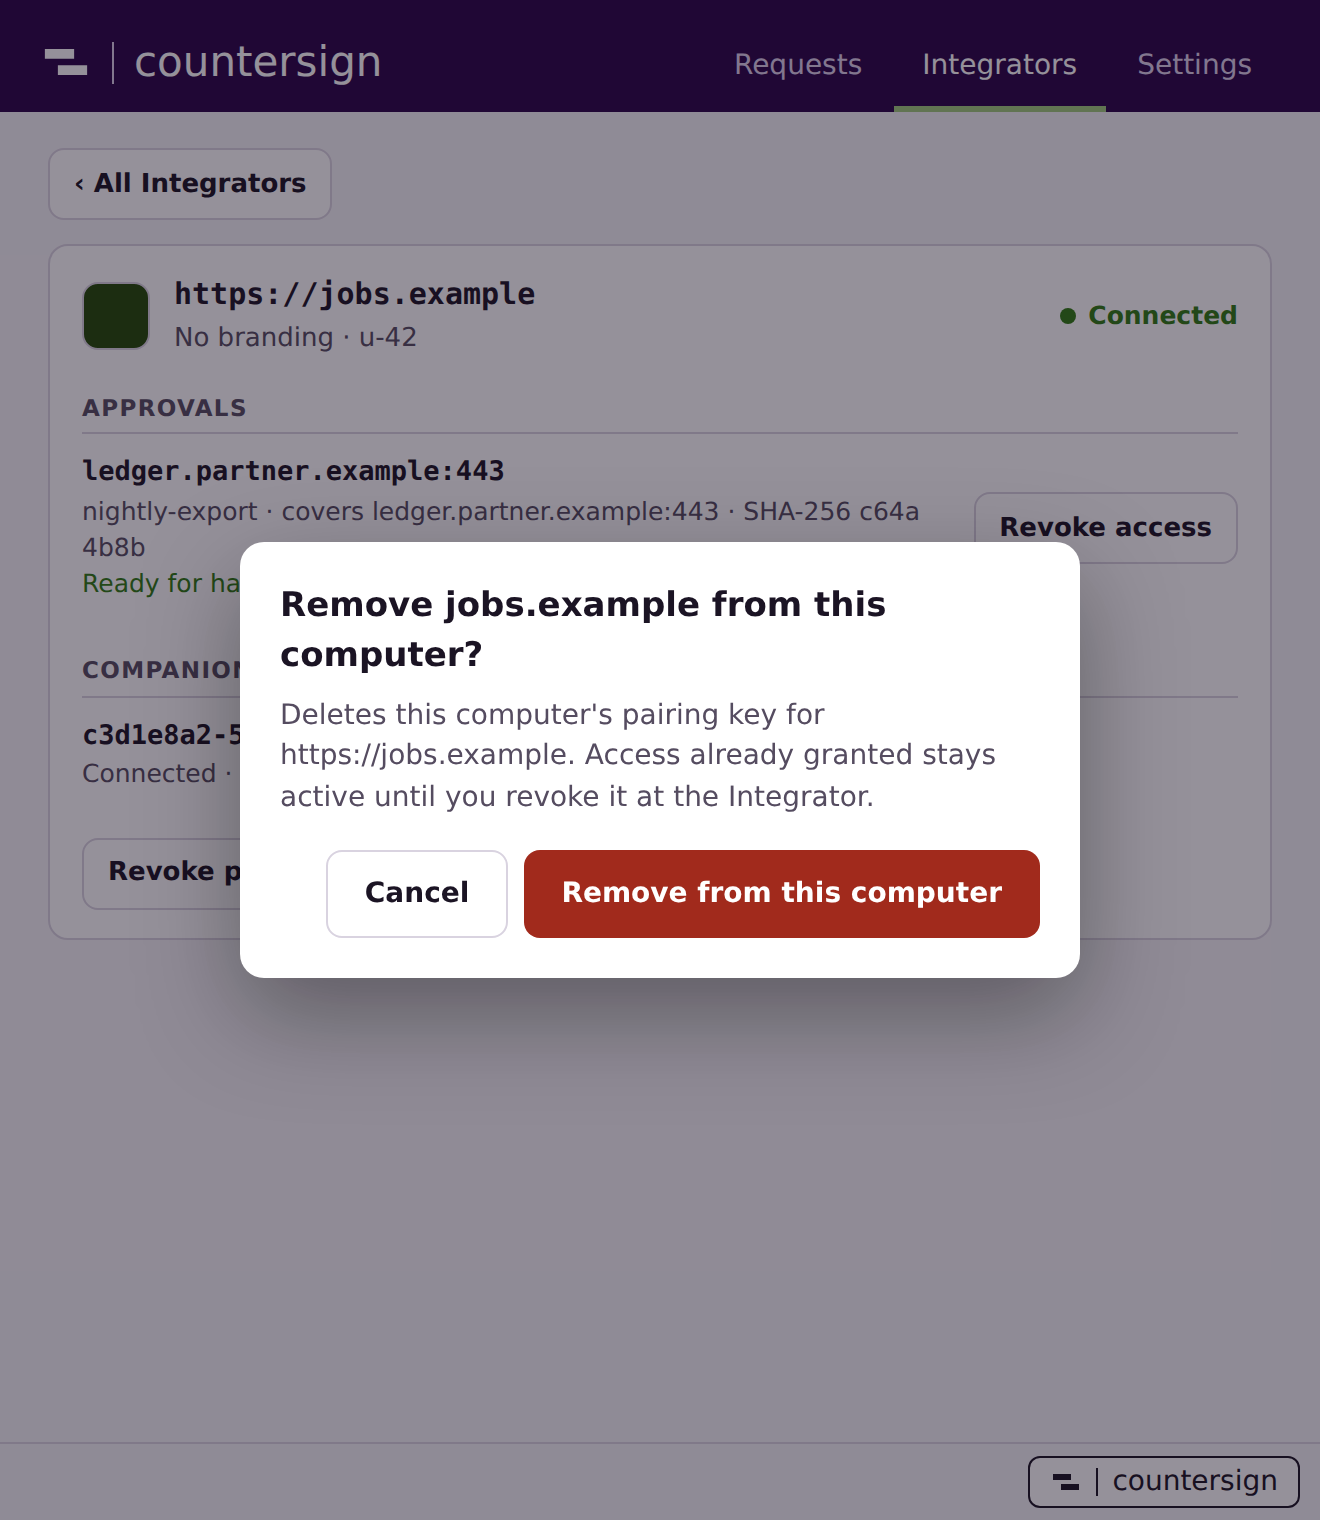
If another Companion connects to your account, a notice gives its connection information and device ID. Review the ID before choosing Disconnect device or Disconnect all other devices, and confirm in the dialog. Removing another device revokes its grants. An independent lease deadline bounds the remaining traffic. How revocation works
Review a branding change
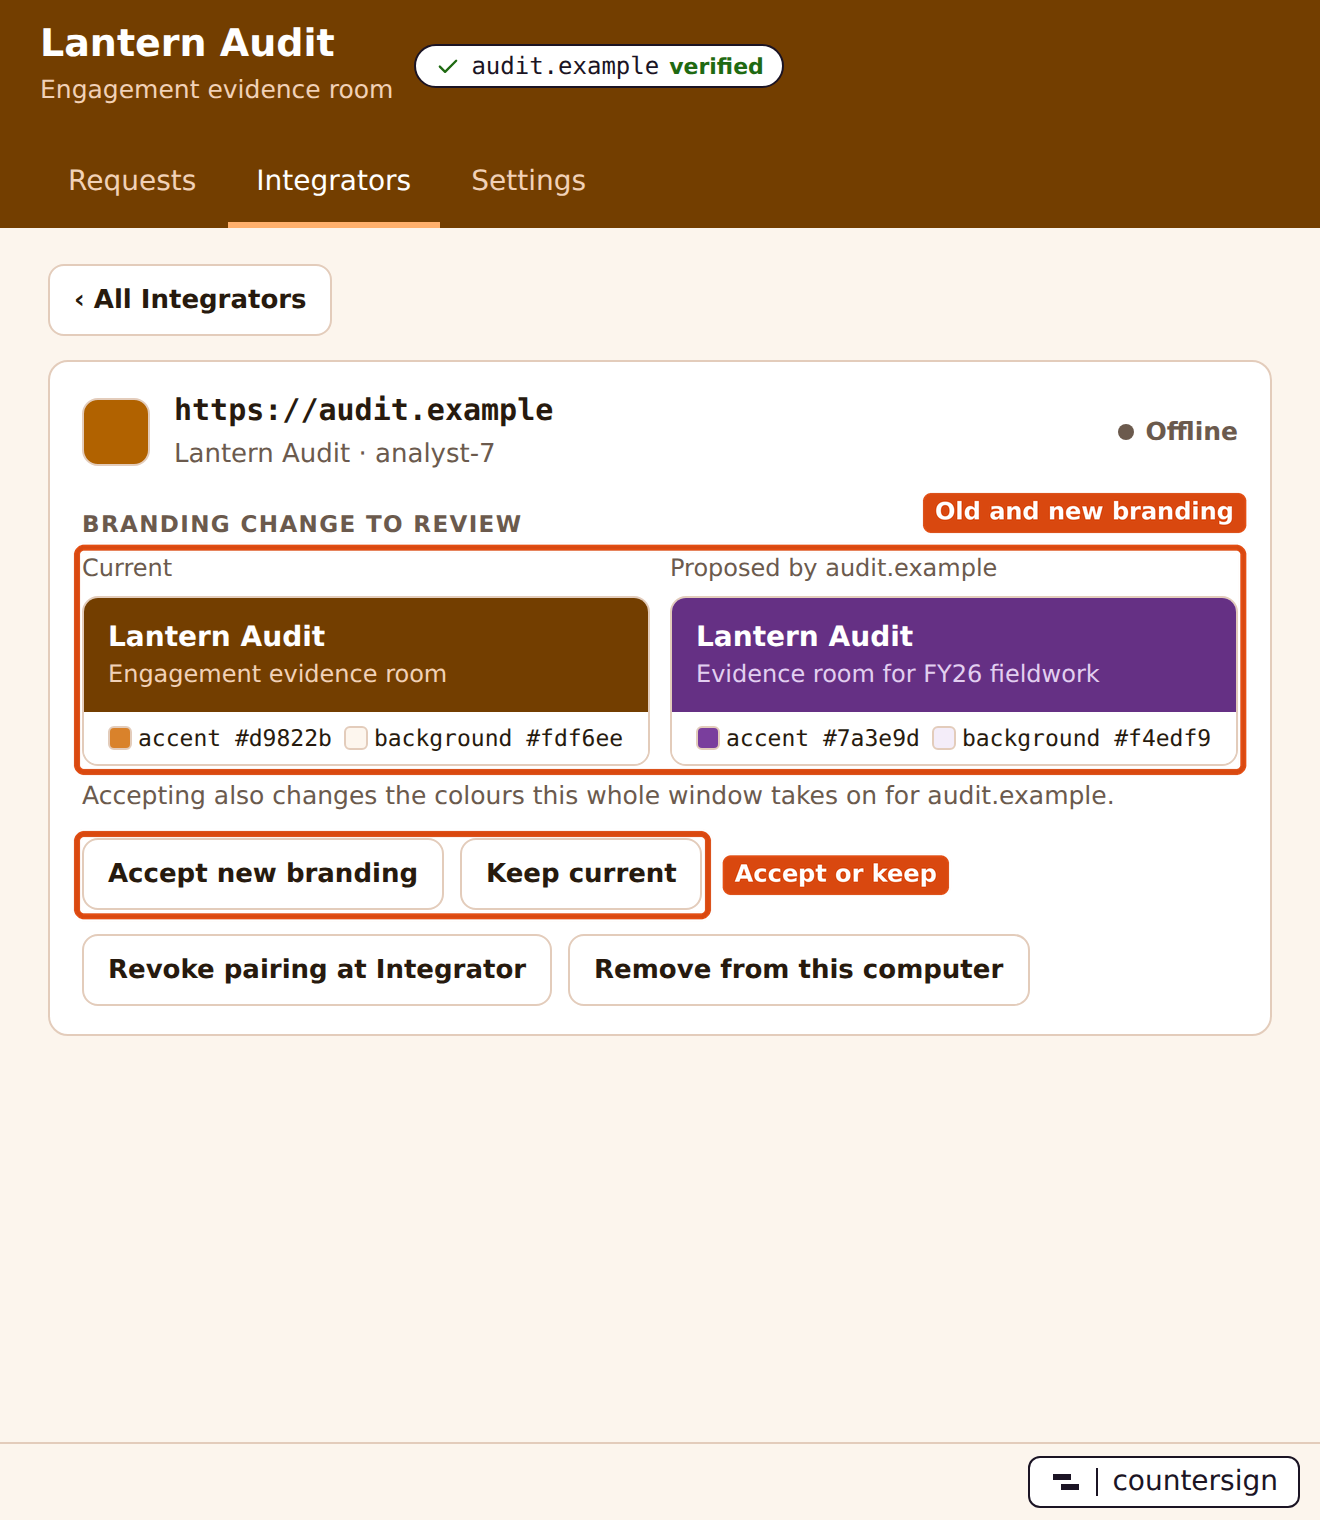
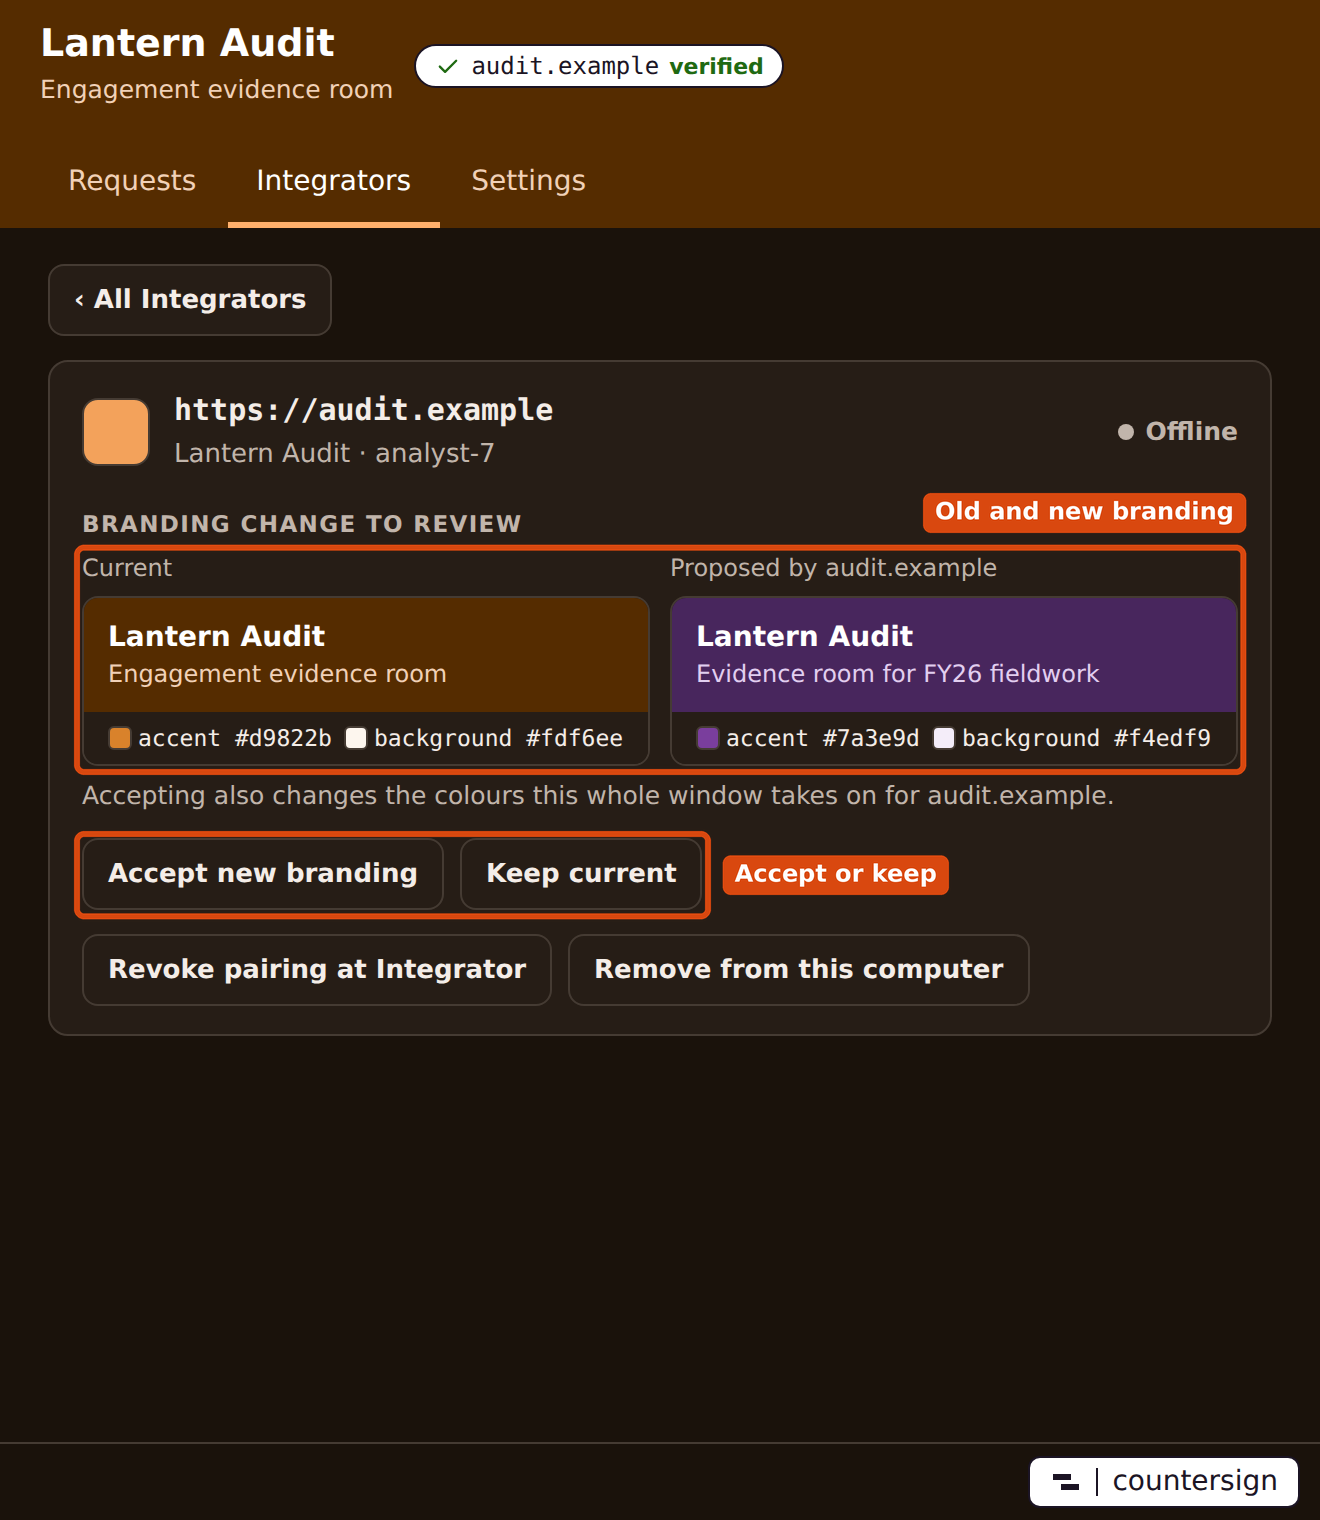
If a paired Integrator changes its logo, name, copy or colours, its details page shows the current and proposed branding side by side. Choose Accept new branding to adopt it, which also changes the colours the window takes on for that Integrator. Choose Keep current to dismiss it. The Companion does not ask again about the same proposal, only about a later change. The verified origin and approval controls belong to the Companion either way.
When an approval doesn't work
| What you see | What to check |
|---|---|
| No desktop notification | Open the Requests tab, then check the Integrator's status on the Integrators tab. A web notification or deep link locates a pending request. It cannot approve one. |
| No eligible installed certificate | Check that the identity is valid for client authentication, has its private key, and matches the issuer and signature schemes allowed for this destination. Ask the Integrator which identity it expects. |
| Provider unavailable | Unlock the native provider and reconnect the token if applicable. On Linux verify that p11-kit can see the token in the same login session. Request access again. |
| Approved, but the job still cannot connect | Look for Ready for handshakes in the Integrator's details on the approving desktop. If the original connection attempt timed out, retry it from the job. The Integrator can distinguish an approval from an accepted upstream handshake. |
| Revocation queued | Reconnect to the verified Integrator and use Retry revocation. If the desktop cannot reconnect, revoke through the Integrator. The lease cutoff starts from the Broker's recorded decision. |
Install from npm
Run npx @zeroae/countersign on the desktop. npm downloads the platform package for your Node architecture (x64 or ARM64). The command opens the installer on Windows and macOS, or runs the AppImage on Linux. To locate the file for manual installation, run npx @zeroae/countersign --print-path. The binary ships inside the npm tarball.